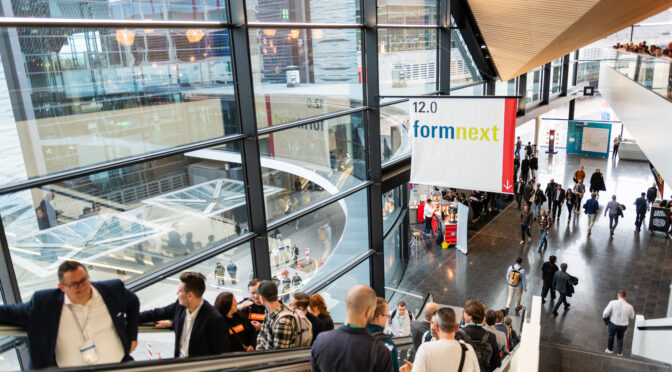
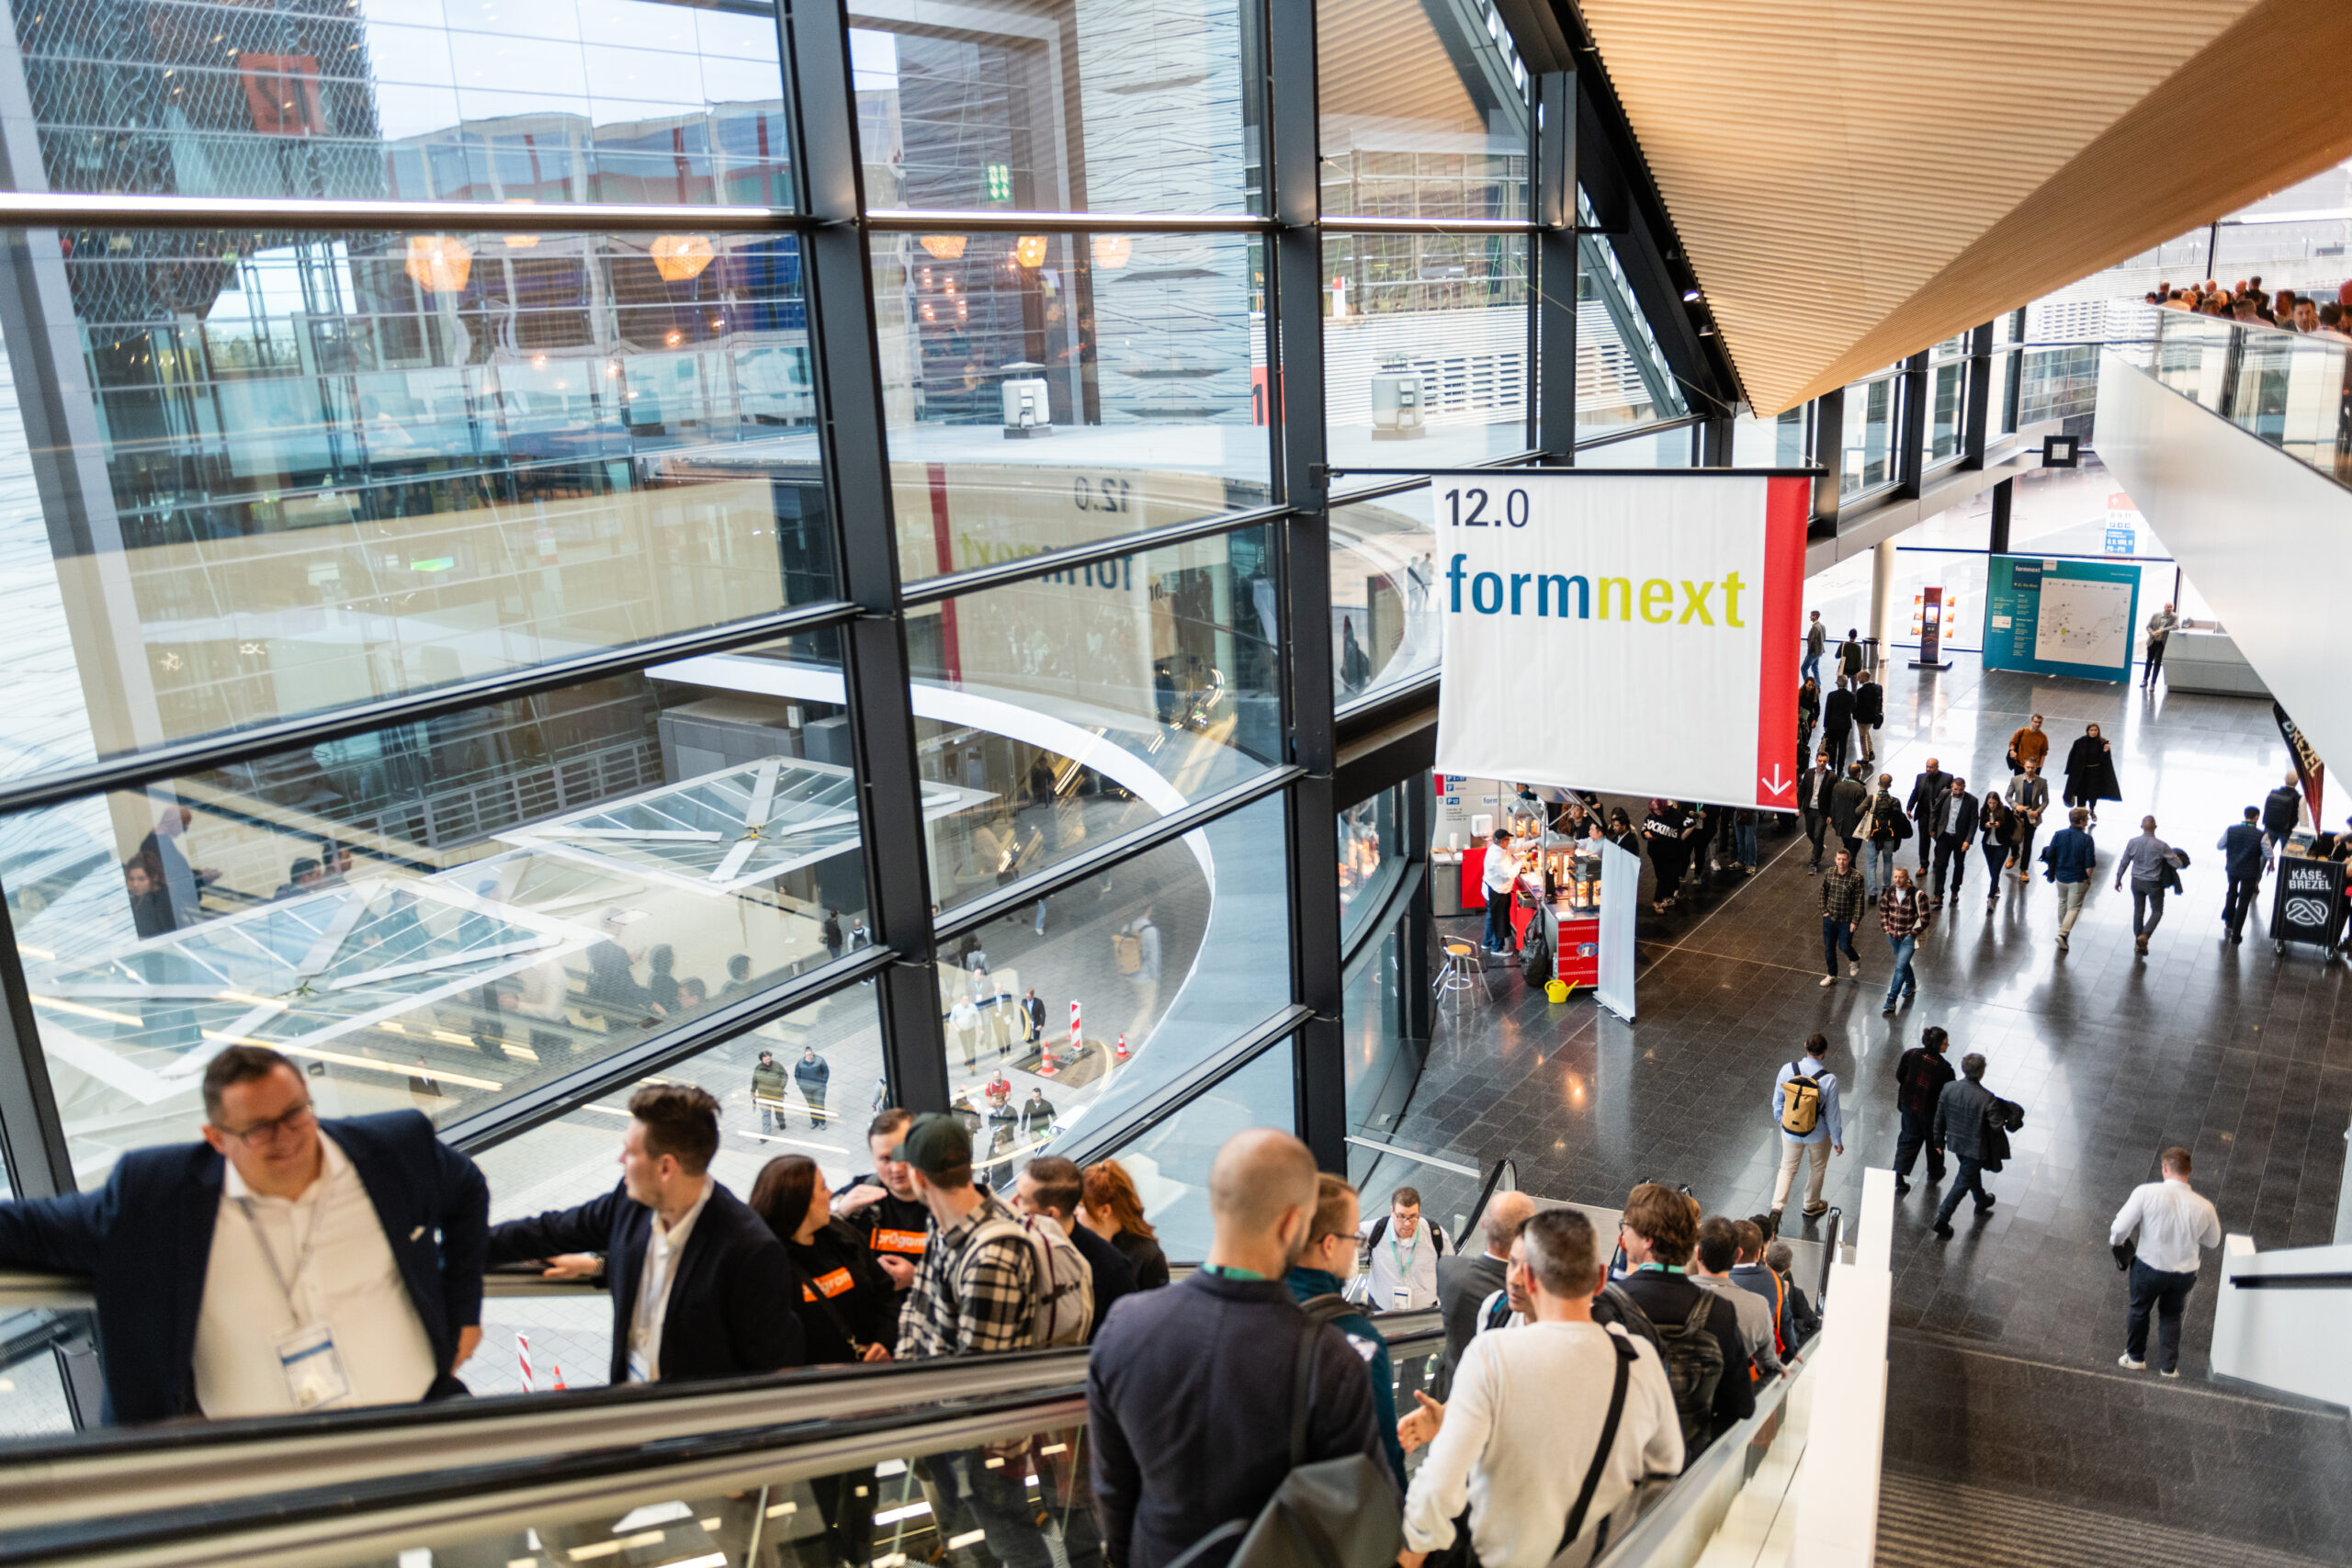
The United Kingdom has been announced as the official partner country for Formnext 2026, and if you work anywhere near industrial 3D printing, this is genuinely significant news.
Formnext 2026 will take place in Frankfurt from 17 to 20 November 2026, and the choice of the UK as partner country reflects just how far British Additive Manufacturing has come. From advanced materials and machine development to real-world industrial applications, the UK is now firmly embedded in the global AM ecosystem.
According to the organisers, Formnext is also entering the year with fresh momentum, placing a stronger focus on key user industries such as orthopaedics, aviation and automotive manufacturing. In short, this is not just a celebration of technology, but a clear signal that industrial 3D printing has moved well beyond the experimental phase.
Why the UK as Partner Country Matters
The UK has long punched above its weight in manufacturing technology, and Additive Manufacturing is no exception. Established names like Renishaw sit alongside fast-growing innovators such as Wayland Additive, supported by a steady pipeline of start-ups, research institutions and industrial users.
From aerospace and defence through to healthcare and energy, British companies are not just adopting AM technologies, they are helping to define how they are used at scale. That combination of research depth and practical application is exactly what Formnext is about.
The UK’s Additive Manufacturing sector is also being actively coordinated through Additive Manufacturing UK, which aims to bring industry, academia and government together to accelerate adoption and innovation. Being named partner country puts that collective effort firmly on the world stage.
A Stronger Focus on Real Industry Use
One of the most interesting aspects of the Formnext 2026 announcement is the increased focus on specific user industries. Rather than talking about AM in abstract terms, the organisers are deliberately highlighting where it is already delivering tangible benefits.
Orthopaedics, aviation and automotive manufacturing are all sectors where Additive Manufacturing is proving its worth, whether that is through lightweight components, patient-specific implants or rapid tooling and production aids.
To support this, Formnext will be running AM-focused events throughout 2026 at major industry exhibitions, including AERO Friedrichshafen, OT-World in Leipzig and Automechanika Frankfurt. The idea is simple and sensible: meet potential users where they already are and show them what industrial 3D printing can actually do.
Record Numbers and a New Hall Layout
Formnext 2025 marked the event’s tenth anniversary and welcomed a record 38,282 visitors, which is a strong indicator of where the industry is heading. For 2026, visitors can also expect a new and improved hall structure across three levels in Halls 11.0, 12.0 and 12.1.
The goal here is to improve visitor flow, reduce walking distances and create a more coherent experience overall. Anyone who has spent long days navigating large trade shows will appreciate why that matters.
Early Bird Booking Still Open
For exhibitors, there is also a practical incentive to act quickly. Early bird discounts are available until 2 March 2026, making this an ideal moment for UK companies in particular to secure their presence at what promises to be a landmark event.
With the UK in the spotlight, a renewed focus on real industrial applications and a clear upward trend in global interest, Formnext 2026 is shaping up to be one of the most important Additive Manufacturing events of the year.
You can find exhibitor information and registration details via the official Formnext website
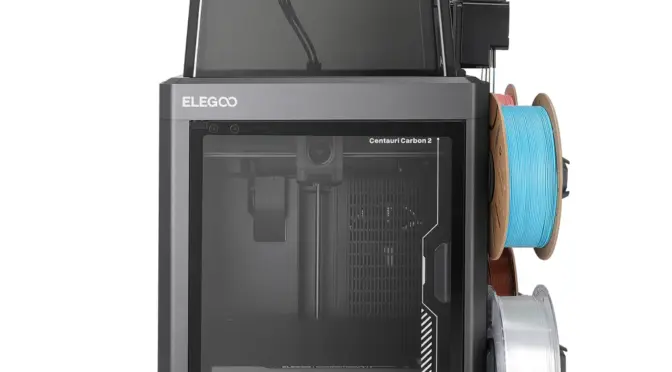
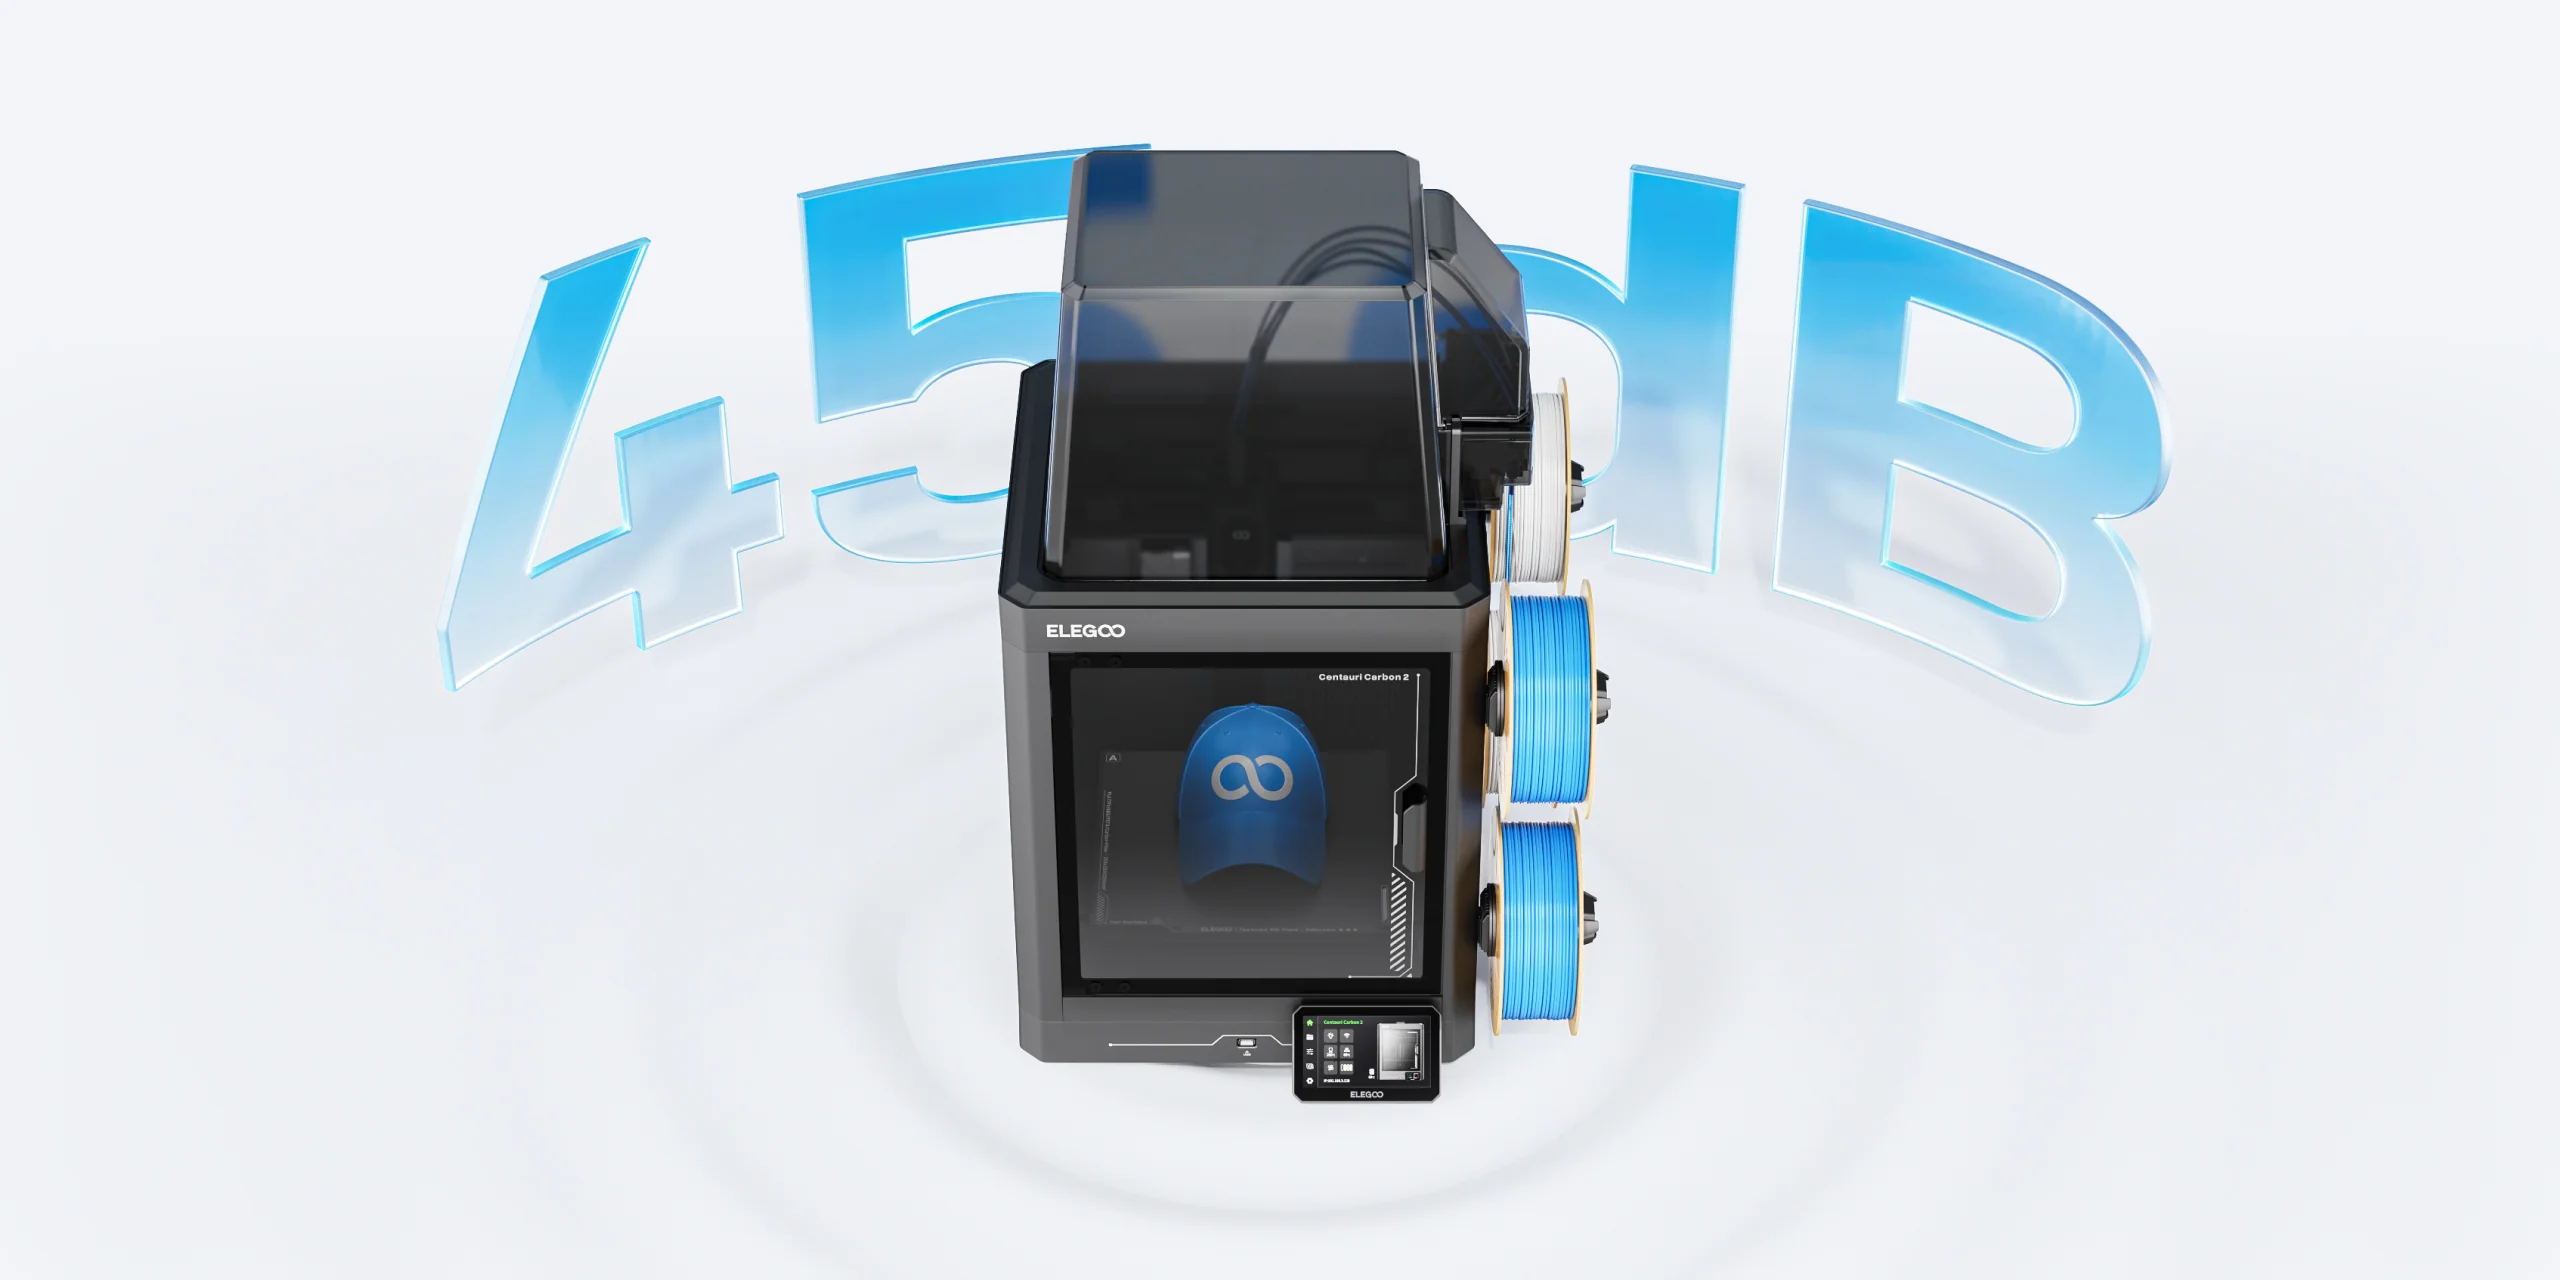
There’s a smell that stays with me from my earliest forays into additive fabrication — the warm tang of PLA as fresh layers nestle into place under a glowing nozzle, the low hum of stepper motors dancing through another night of prints in my workshop. Over the years I’ve watched the 3D printing landscape evolve, machines becoming faster, more capable and kinder to the budding maker. Today there’s a fresh breeze on the horizon as Elegoo lifts the curtain on its latest creations: the eagerly anticipated Centauri Carbon 2 and its fully fledged sibling, the Centauri Carbon 2 Combo.
Elegoo Unveils a New Chapter in Desktop 3D Printing with the Centauri Carbon 2 Series
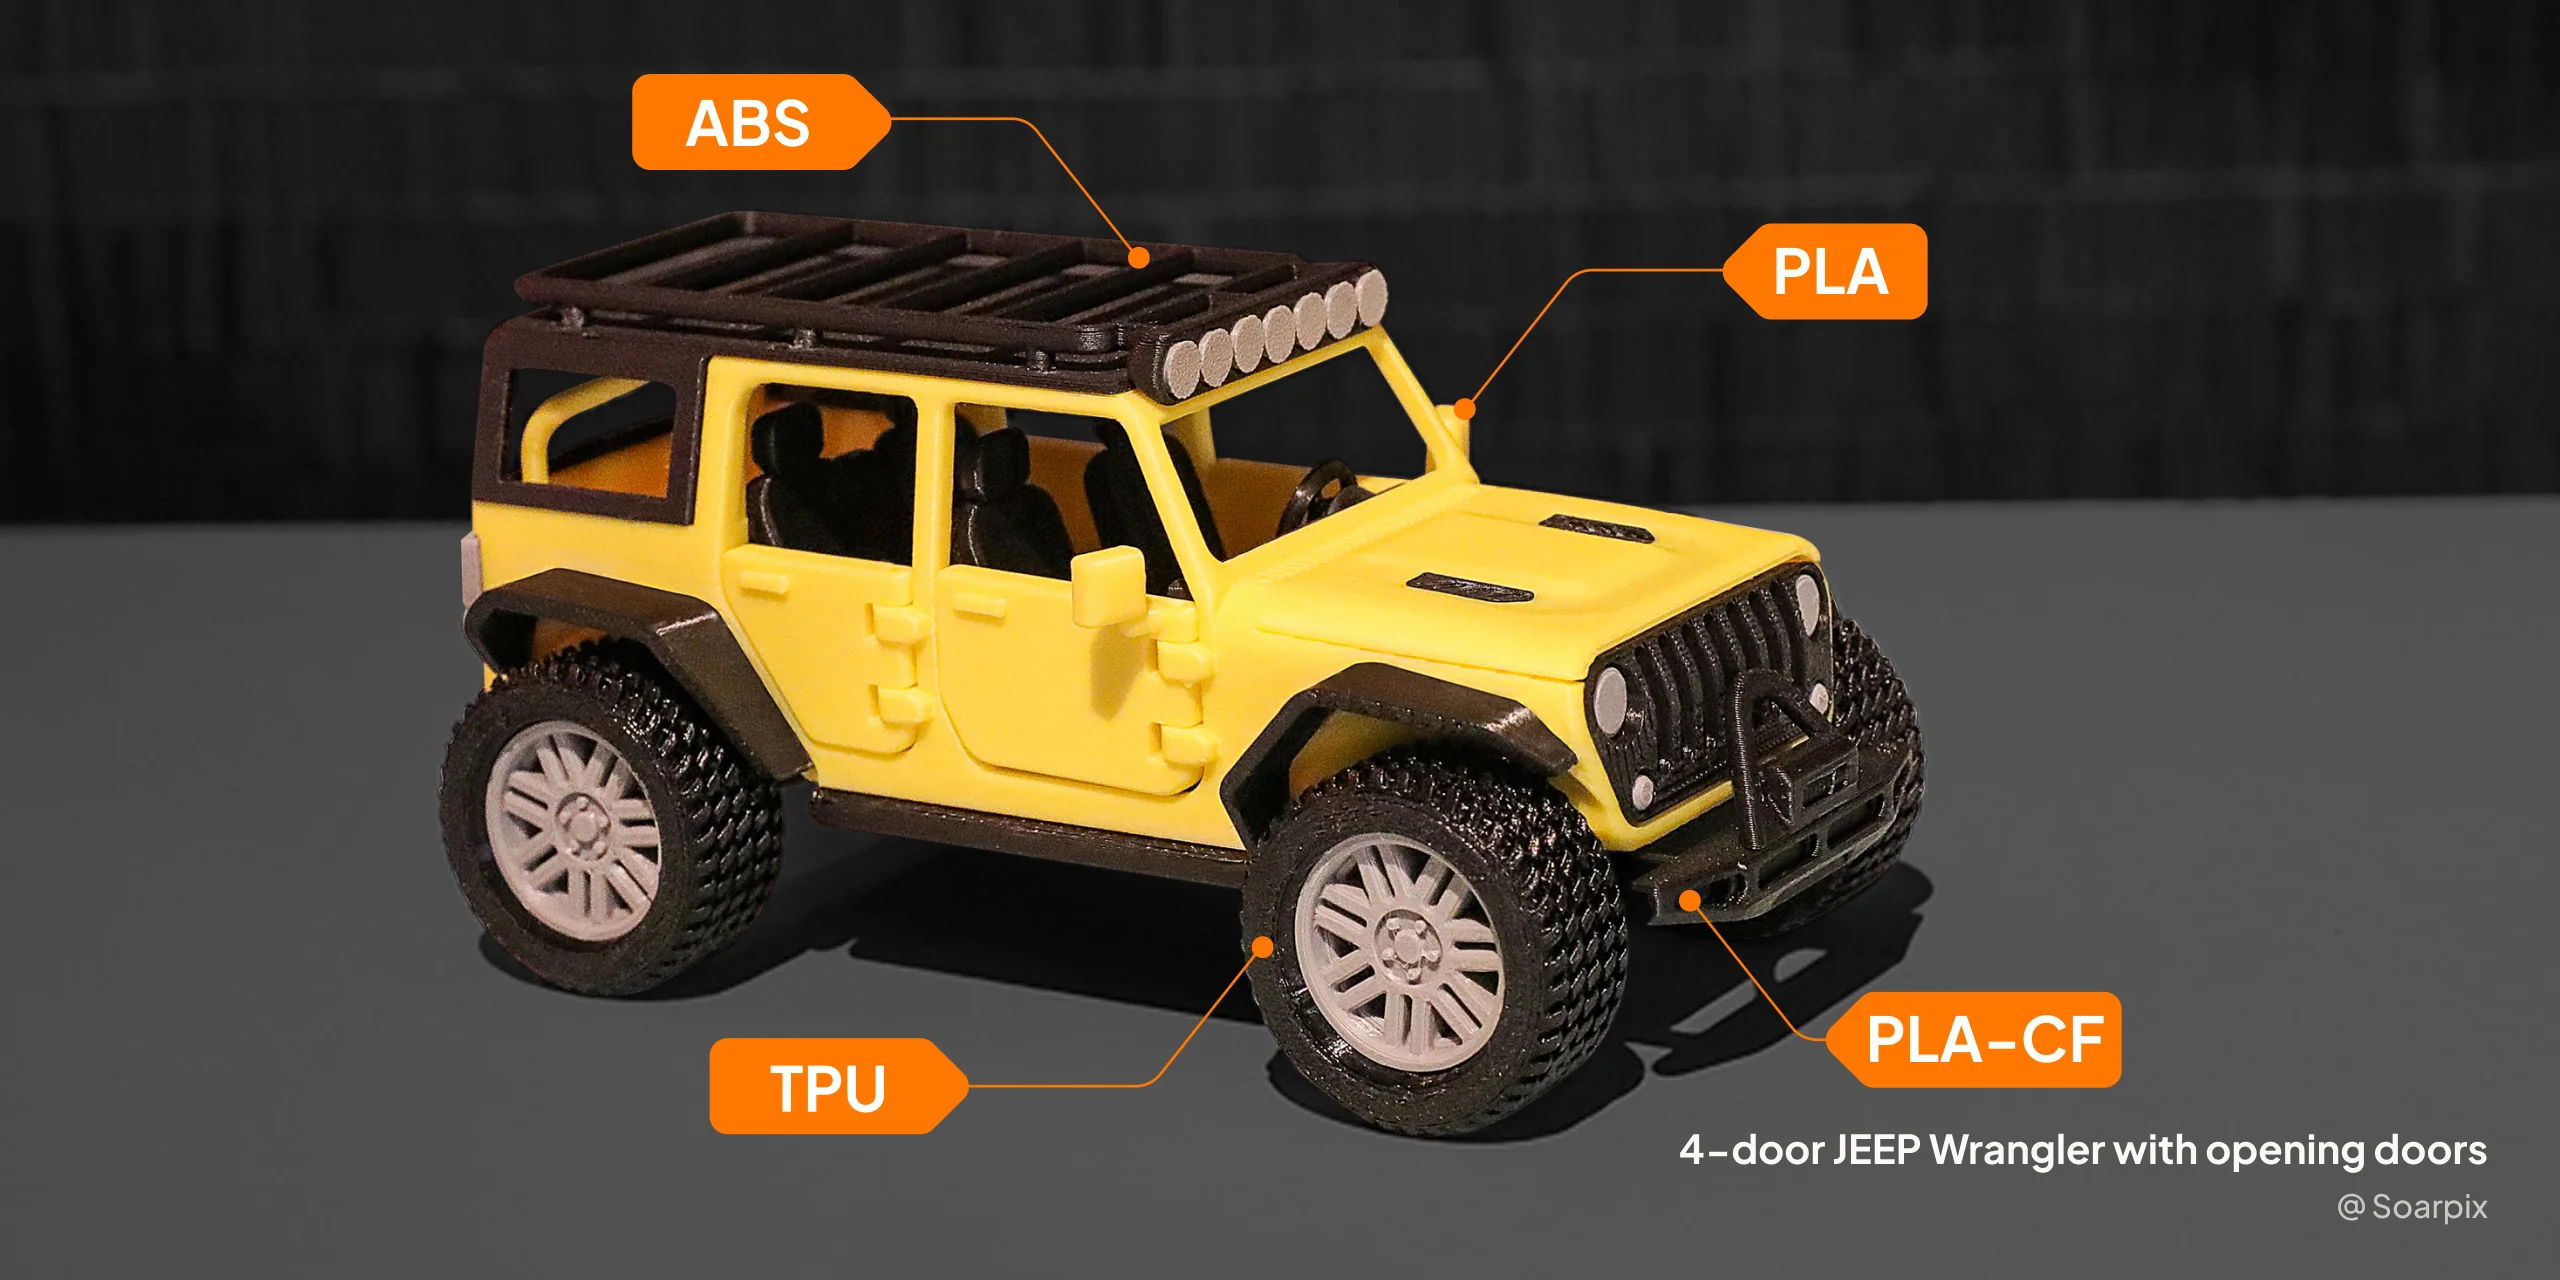
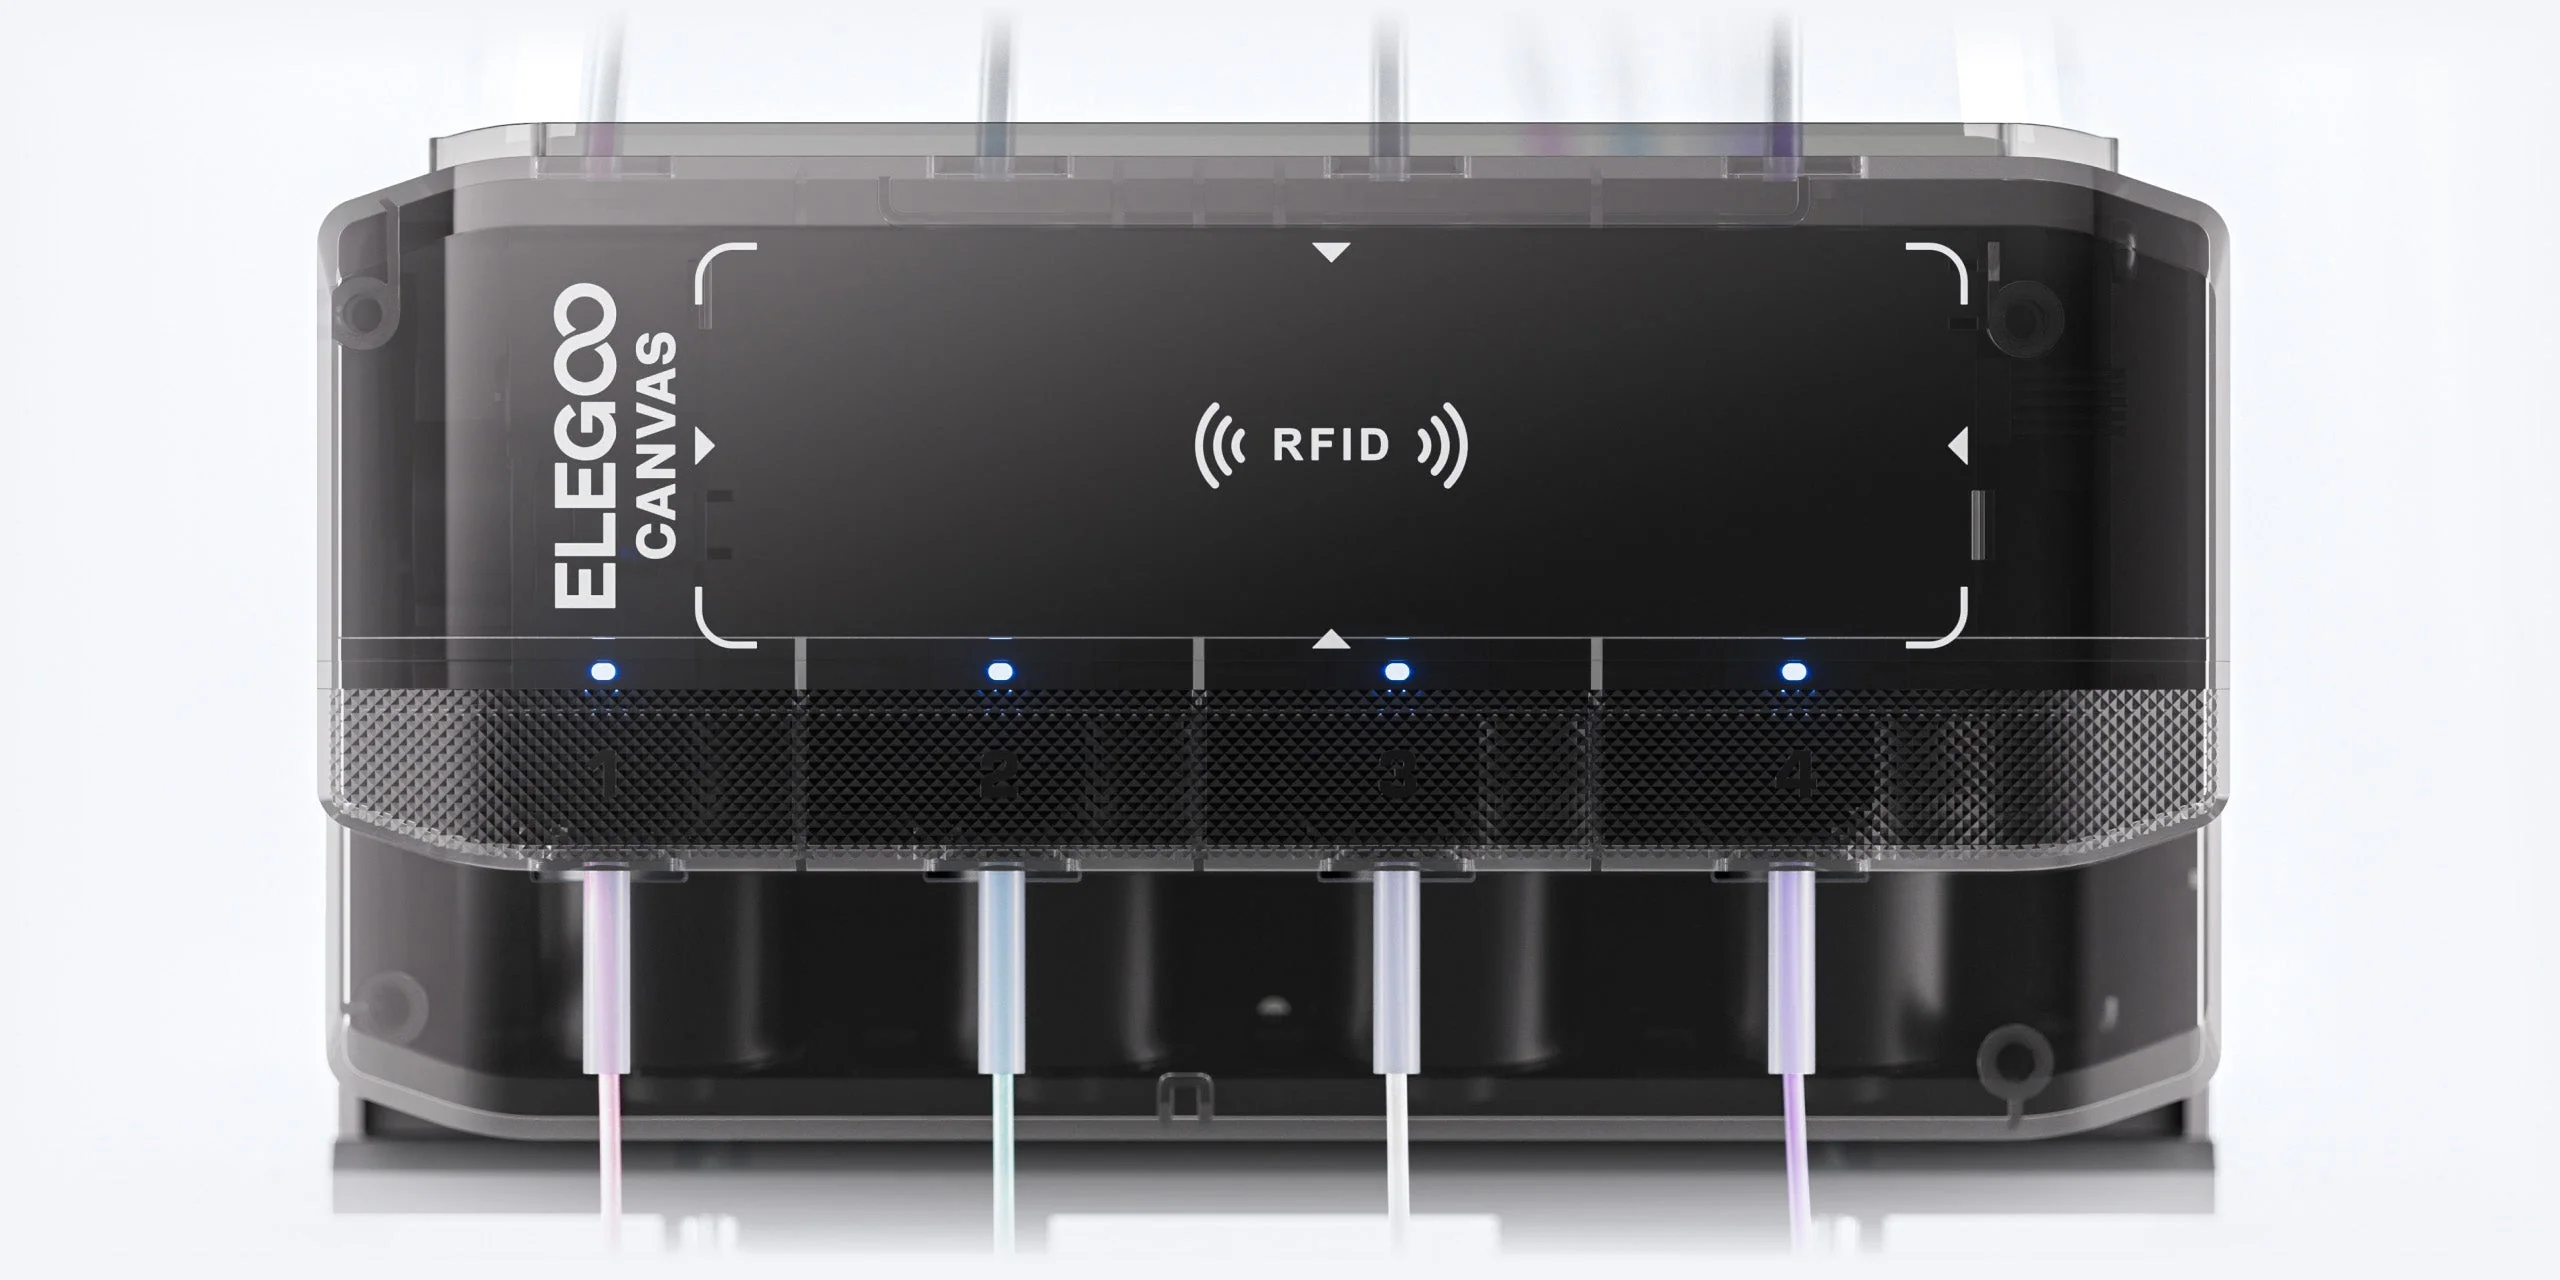
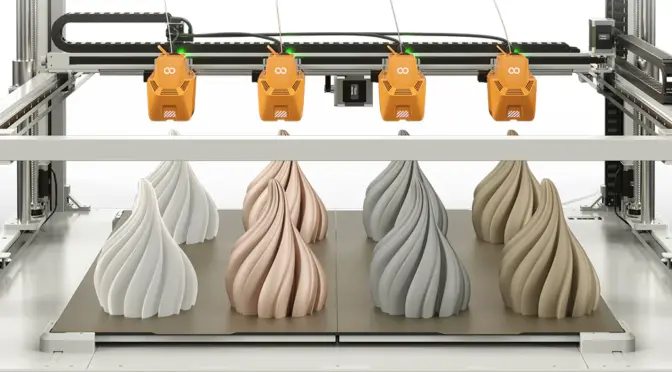
Traditionally, multicolour 3D printing has been a pursuit laced with complexity. Intricate purge towers, multiple extruders or tool-changing heads are often the price of entry. Elegoo’s new Carbon 2 family promises to change that narrative. With a CANVAS multicolour system that handles up to four filaments and even lets you switch colours mid-print, the Combo aims to bring vibrant, multi-hued prints to makers who might otherwise shy away from such workflows.
The heart of both machines remains faithful to what made the original Carbon such a joy: a CoreXY motion platform that sings with precision and speed, and a 256 × 256 × 256 mm build area that gives you room to dream — be it scenic terrain for your table-top battles or functional parts for your next project.
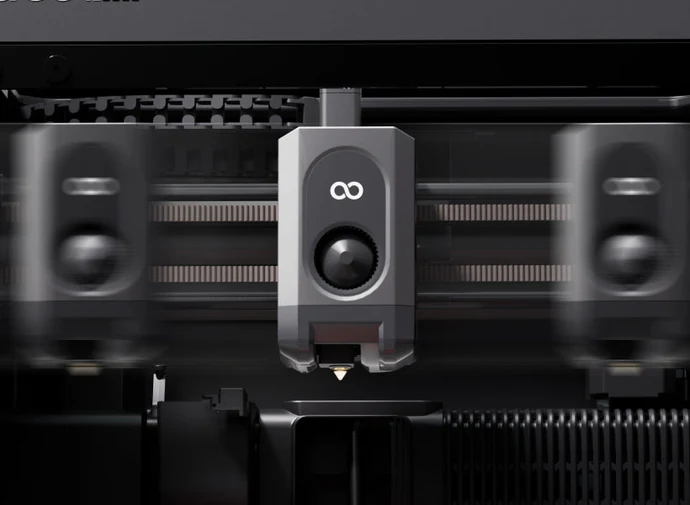
For those who relish material versatility, the Carbon 2 and Combo step things up with a 350 °C hardened steel nozzle, letting you venture beyond PLA into PETG, TPU and engineering-grade filaments that demand a bit more heat. Auto-leveling and intelligent sensor systems help reduce the faff of setup, giving you more time at the keyboard tweaking slicer settings or sipping tea as layers stack into life.
Watching a four-colour print unfold is something special. The transparent glass door on the Combo lets you glimpse that slow symphony of motion as filament dancers on their own tiny stages blend and separate to form gradients and patterns that used to be the exclusive domain of much larger machines.
From a personal perspective, the arrival of these printers feels like watching a familiar friend return from an extended journey having brought back new skills and stories. There’s a tangible sense that desktop additive fabrication is growing up, without leaving the joy of hands-on making behind.
Both models are now available direct from Elegoo’s UK store and global channels, with the Combo bringing multicolour creativity within reach of hobbyists, educators and professionals alike. Prices start at an accessible point for what is fundamentally a step change in capability, and if you’ve ever found yourself yearning for more expressive prints without wanting to wrestle with complexity, these new Carbon 2 machines may be the ticket.
As with all tools of creation, the true magic isn’t in the spec sheet or glossy launch photos — it’s in the quiet hours spent watching your imagination take shape, layer by patient layer.
There is a moment in every workshop when the familiar hum of a machine reminds you how much heat is being generated just out of sight. Whether you are shaping a design with a laser cutter or pushing a long print through the night, both processes rely on concentrated heat and electronics working in perfect harmony. Most of the time everything behaves exactly as expected, but all it takes is a small fault, a stray ember or a damaged cable to turn that hum into something altogether more worrying.
Fire safety is rarely the glamorous side of making, yet it is one of the most important. Over the years I have seen how quickly a small flare can take hold and how easily it can damage tools, materials and the room around them. The risks are low, but they are real, and a little preparation can make an extraordinary difference.
The usual advice stands. Keep machines clean, check wiring regularly, make sure ventilation is clear and never leave cutting material that contains adhesives or unknown coatings unattended. Smoke and heat detectors are essential, as is good airflow and sensible layout. These form the invisible foundation of a safe workshop. They work quietly in the background and never ask for attention.
Then there is the final line of defence. The moment when you see something beginning to smoke or flame and you know you have only seconds to stop it becoming anything serious. Traditionally this has meant reaching for a dry powder extinguisher or a CO2 cylinder. Both will deal with a fire effectively, but both have their drawbacks in a small workshop. Powder settles everywhere and can ruin equipment long after the flames are out. CO2 works well but tends to be large, heavy and not always convenient if you need something you can grab in an instant.
This is where the Fire Safety Stick becomes so valuable. I keep one mounted on the wall near my machines for one simple reason. It allows me to deal with a developing fire without coating the entire workspace in a layer of residue that could permanently damage the very equipment I am trying to save. It produces no settling dust and no lingering film. Once the flame is out there is no clean up and no lasting harm to delicate components, optics or electronics.
The Fire Safety Stick answers many of the concerns that makers often raise. It is compact, straightforward to operate and requires no servicing. It can be used on the types of fires likely to occur around 3D printers and laser cutters, and because the discharge is clean, it allows you to act quickly without wondering how much collateral damage you are about to create. In a space filled with tools, materials and sensitive hardware, that freedom matters.
Fire Safety In The Workshop: Why A Simple precaution Makes All The Difference
This does not replace sensible precautions. It simply adds a layer of protection that fits naturally into the rhythm of a workshop. You can strike it, place it near the source of the problem and step back, letting it continue to suppress the fire while you stay safe. It buys time, and in an environment where heat and electronics are always working together, time is the most valuable thing you have.
I encourage anyone who spends hours printing, engraving or cutting to think seriously about fire safety. It is easy to assume that nothing will ever go wrong, but experience has taught me that peace of mind is something you only appreciate after the moment you wish you had it. A clear workspace, a basic understanding of your equipment and a Fire Safety Stick within reach is a simple combination that gives you that reassurance.
In a world filled with clever tools and creative possibilities, sometimes the most important equipment is the one you hope you never need to use.
Fire Safety Stick is available in 50 second and 100 second discharge rates and are available from Amazon at https://amzn.to/48fRCob
Well, this is exciting. The lovely folks at Anycubic have been in touch again, and this time they’ve got something rather special lined up for the 3D-printing world. If you’ve been following my recent adventures in the workshop — shelves of resin bottles, spools of filament, and printers humming away like a busy beehive — you’ll know I’ve been especially taken with Anycubic’s approach to innovation lately.
And now, they’ve gone and done it again.
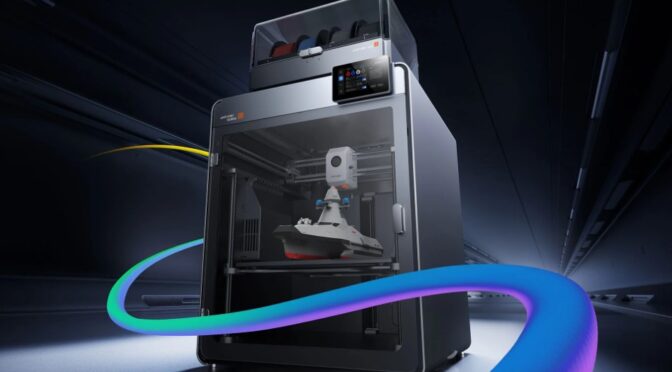
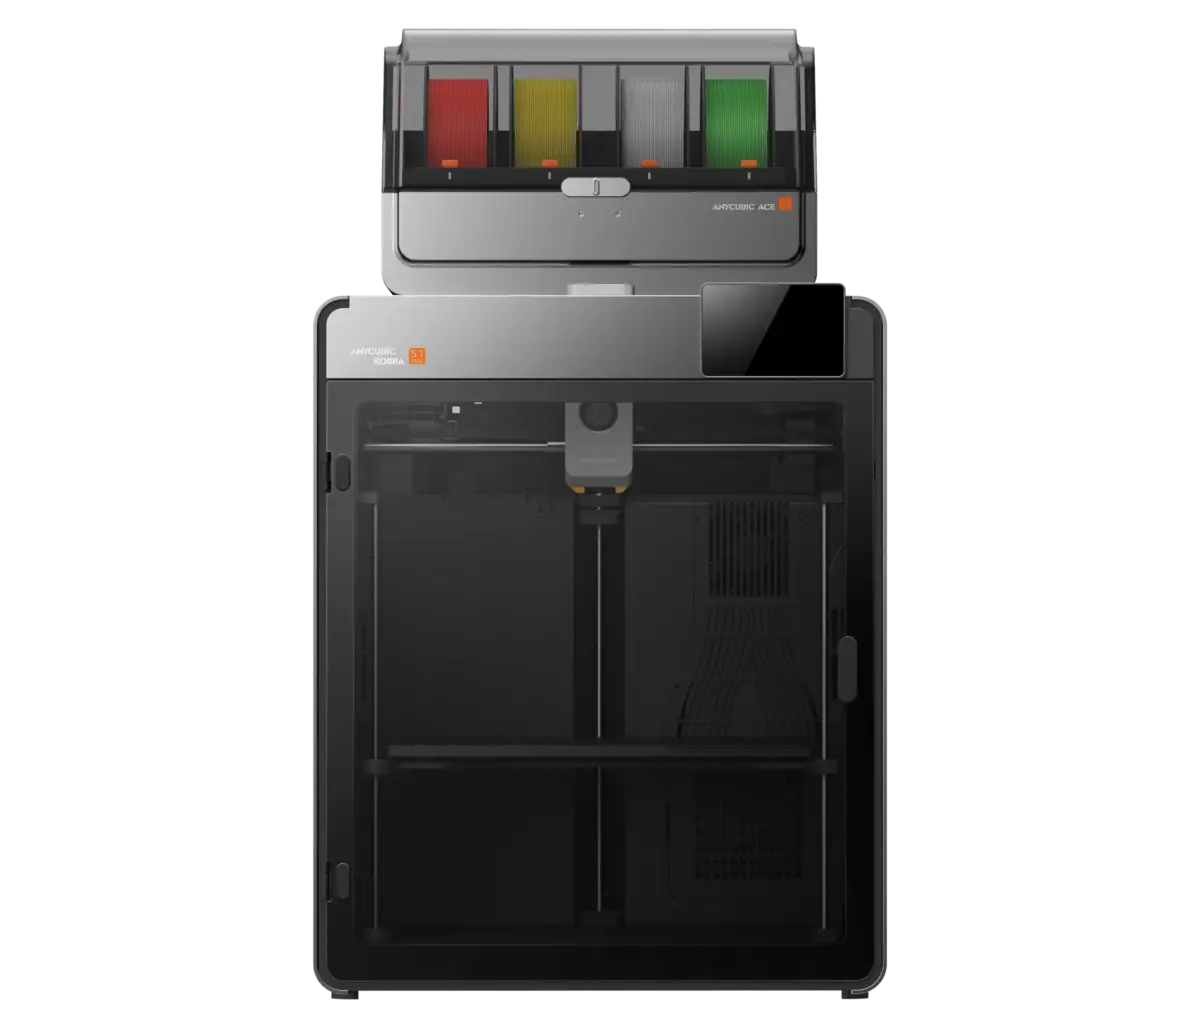
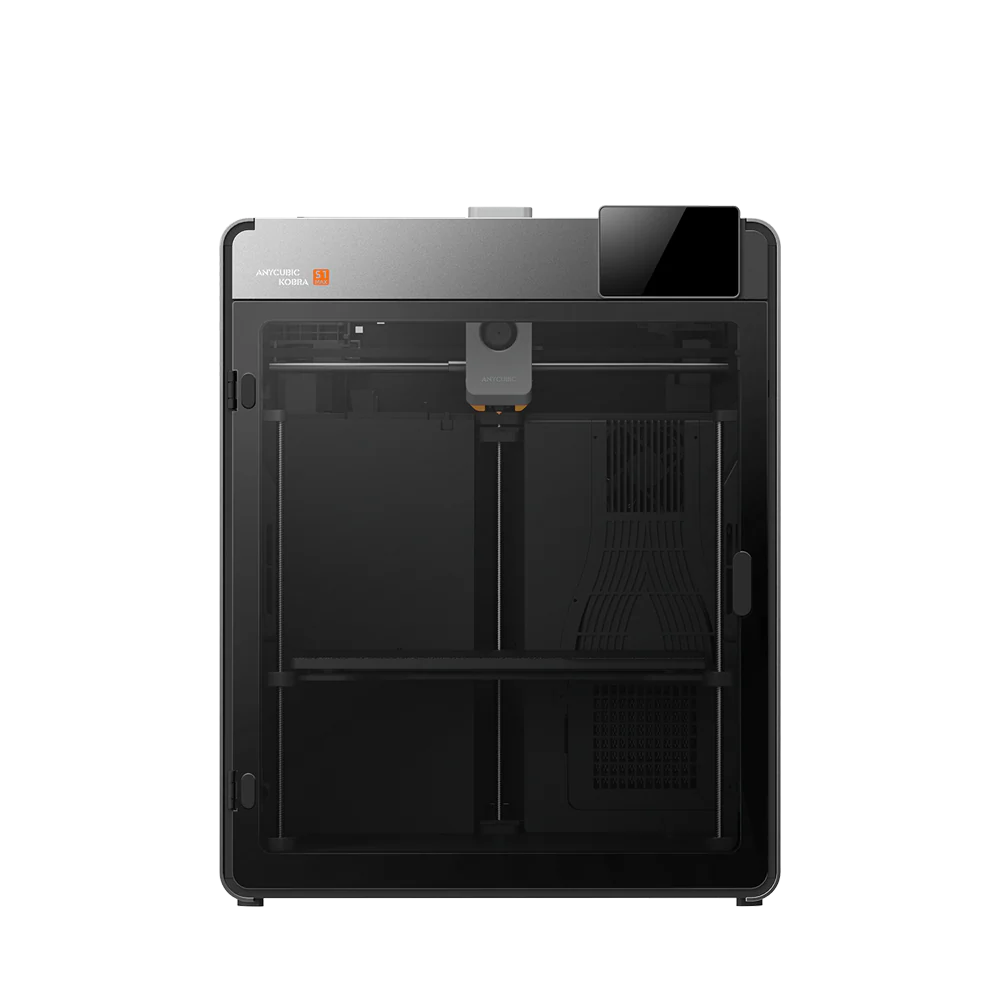
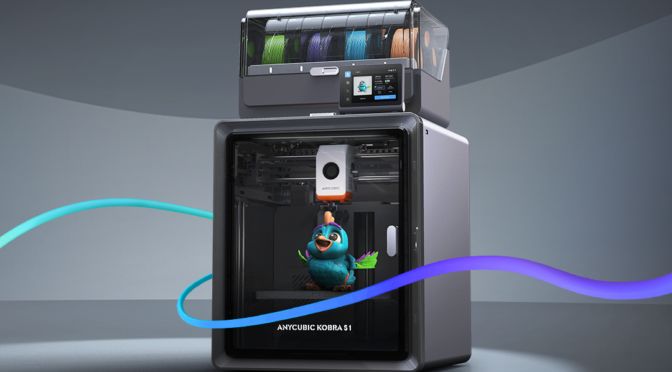
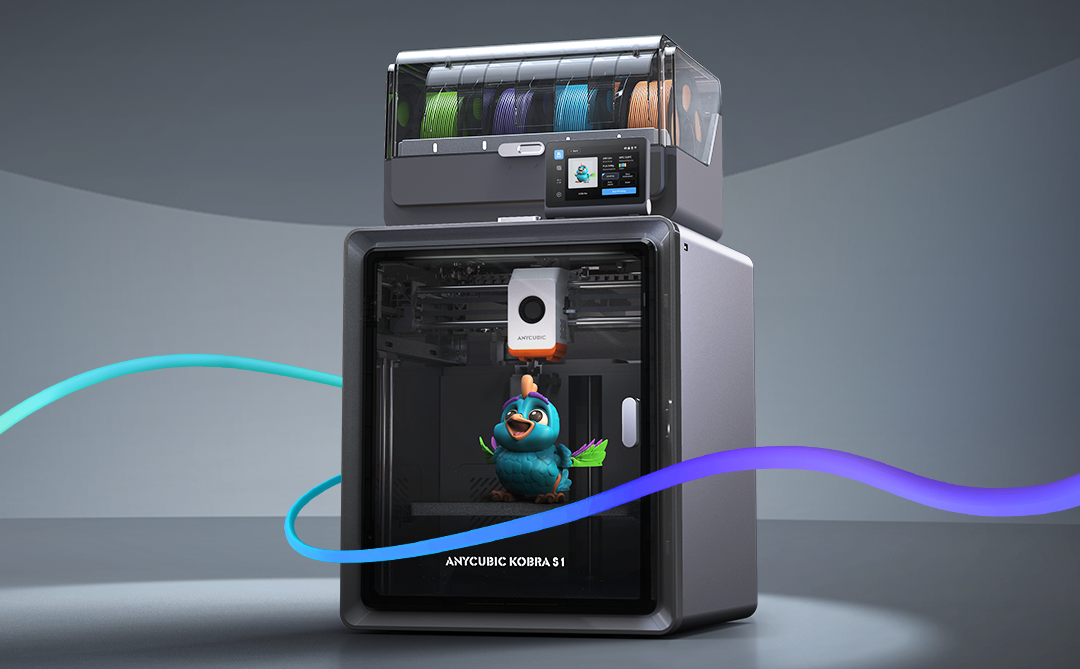
Introducing the Kobra S1 Max Combo
A brand-new machine built to push desktop 3D-printing further — louder, brighter, more colourful, and more capable of serious engineering-grade work.
This is not just a quiet upgrade. This is one of those big leaps.
Kobra S1 Max ComboKobra S1 Max
What Makes It Stand Out?
The expanded spec list from the official campaign page reveals some key details:
Up to 16-colour printing: Start with one ACE 2 Pro module for 4 colours; combine up to four for the full 16-colour capacity.
Huge build volume: 350 × 350 × 350 mm.
Enclosed, actively-heated chamber up to 65 °C. Hotbed up to 120 °C, hotend up to 350 °C.
Hardened-steel hotend (0.4 mm standard with extra 0.6 mm included), optional 0.25 mm brass / 0.8 mm hardened steel nozzles.
CoreXY motion system, active carbon-filter air purification, WiFi6/Ethernet support, 720p monitoring, spaghetti-recognition AI, U-disk/app control.
Materials covered: from PLA/PETG/TPU right up to engineering-grades like ABS, ASA, PC, PA, PA6-CF, PC-CF/GF, PET-CF.
Put simply: whoever said “desktop printers are only for PLA” is going to have a rethink when this lands.
Early Bird Deal (This One’s Actually Worth It)
Anycubic are running a clever early-bird scheme:
Pay £50 now → receive £100 discount off the launch price (5th November to 24th November)
After that, the pricing rolls through phased levels — each with perks (as previously noted).
£749 (25 Nov-1 Dec) with £400 worth of perks
£799 (2 Dec-25 Dec) with £350 perks
£849 (26 Dec-31 Jan) with £300 perks
£949 (from 1 Feb) with £200 perks
So yes — if you’re thinking about it, the earlier the better.
And Here’s the Extra Bit I’m Excited About…
I’ll be in Frankfurt on the 18th November attending formnext — the global additive-manufacturing expo. It’s basically the Glastonbury of 3D printing: people everywhere talking filament, lasers, printheads, sintering furnaces — heavenly stuff.
I’m absolutely planning to track down Anycubic while I’m there and get a closer look at the Kobra S1 Max Combo in the flesh. Expect photos, impressions, maybe even first-hand print samples — all coming your way.
If you’ve got questions you’d like me to ask the Anycubic team directly, let me know in the comments.
Final Thoughts
This is shaping up to be a very compelling machine:
✔ Larger build volume ✔ Multi-colour support baked in ✔ Enclosed, CoreXY, heated chamber = better reliability ✔ Designed for real materials, not just for show
If it delivers what the specs promise, this could be one of the stand-out printers of 2025 — especially for makers and small business production.
I’ll bring back everything I learn at Formnext — stay tuned.
—
Matt Porter – The Gadget Man Currently surrounded by printers. Not sorry.
The world of Additive Manufacturing (AM) is about to experience an exciting shift as Spain takes centre stage as the partner country at Formnext 2025. Running from 18–21 November 2025 in Frankfurt, the world’s premier exhibition for AM technologies will showcase the best of Spain’s dynamic AM sector, solidifying its role as a vital player in global manufacturing.
Spain Joins Formnext 2025 as Partner Country, Highlighting its Role as a Global AM Powerhouse
Spain: An Emerging Bridge Between Europe and South America
Spain’s strategic geographical location on the Iberian Peninsula positions it uniquely to connect Europe and South America, making it an ideal partner for this year’s Formnext. With over 30 Spanish exhibitors attending Formnext 2024, Spain has long been a key participant. According to Sascha F. Wenzler, Vice President at Mesago Messe Frankfurt GmbH, Spain exemplifies how AM can drive growth and innovation even during challenging times.
“Spain’s AM sector is diverse, rapidly growing, and packed with innovation, making it an ideal partner,” said Wenzler. “We’re thrilled to have such incredible AM companies join us in showcasing the next generation of manufacturing technologies.”
A Flourishing AM Industry with Global Impact
With more than 1,200 people employed in the AM sector, Spain is experiencing double-digit growth rates every year. As per the Wohlers Report 2024, 1.5% of the world’s 3D printers are installed in Spain. Companies such as HP Printing and Computing, Meltio, Triditive, and Reinforce 3D are leading the charge, contributing to a highly innovative ecosystem.
The AM sector also benefits from Spain’s robust manufacturing tradition. With a 7.3% increase in production since 2014, Spain outpaces its European neighbours like France and Germany, where manufacturing output has stagnated. This growth has translated into significant revenue, with the machine-tool sector reporting record sales of €2.157 billion in 2023.
Key Industry Players: ADDIMAT and IAM3DHUB
Two major players driving AM adoption in Spain—ADDIMAT and IAM3DHUB—are partnering with Formnext 2025 to further showcase Spain’s influence on the global stage.
ADDIMAT, founded in 2014, operates under the AFM Cluster and comprises over 100 companies across the AM value chain, from machine manufacturers to material suppliers.
IAM3DHUB, based in Barcelona and managed by Leitat, supports companies with AM integration, offering services ranging from feasibility studies to strategic implementation.
These organisations have been instrumental in positioning Spain as a hub of Industry 4.0, fostering innovation across various sectors, including automotive, aerospace, and healthcare.
Strong AM Adoption Across Key Industries
Spain’s AM adoption rate is soaring, with 96% of production companies acknowledging AM’s role in speeding up product development, according to a joint study by HP and 3dbpm Research. This has led to impressive growth in machine and service sales, which increased by 24.5% and 36.2%, respectively, in 2022.
AM applications are particularly thriving in industries like aviation, automotive, and healthcare, with innovations such as custom-fitted 3D-printed shoes, patient-specific implants, and surgical guides.
A Platform for Global Recognition
Formnext 2025 will serve as a global platform for Spain’s AM companies to highlight their contributions and innovations, helping them expand their international reach. The event will also include special exhibitions and networking opportunities designed to facilitate further growth.
To explore Spain’s journey in AM and its impact on global manufacturing, don’t miss the special edition of Formnext Magazine in September 2025.
Stay tuned for more updates on Formnext 2025, where cutting-edge technology, innovation, and growth converge to shape the future of manufacturing.
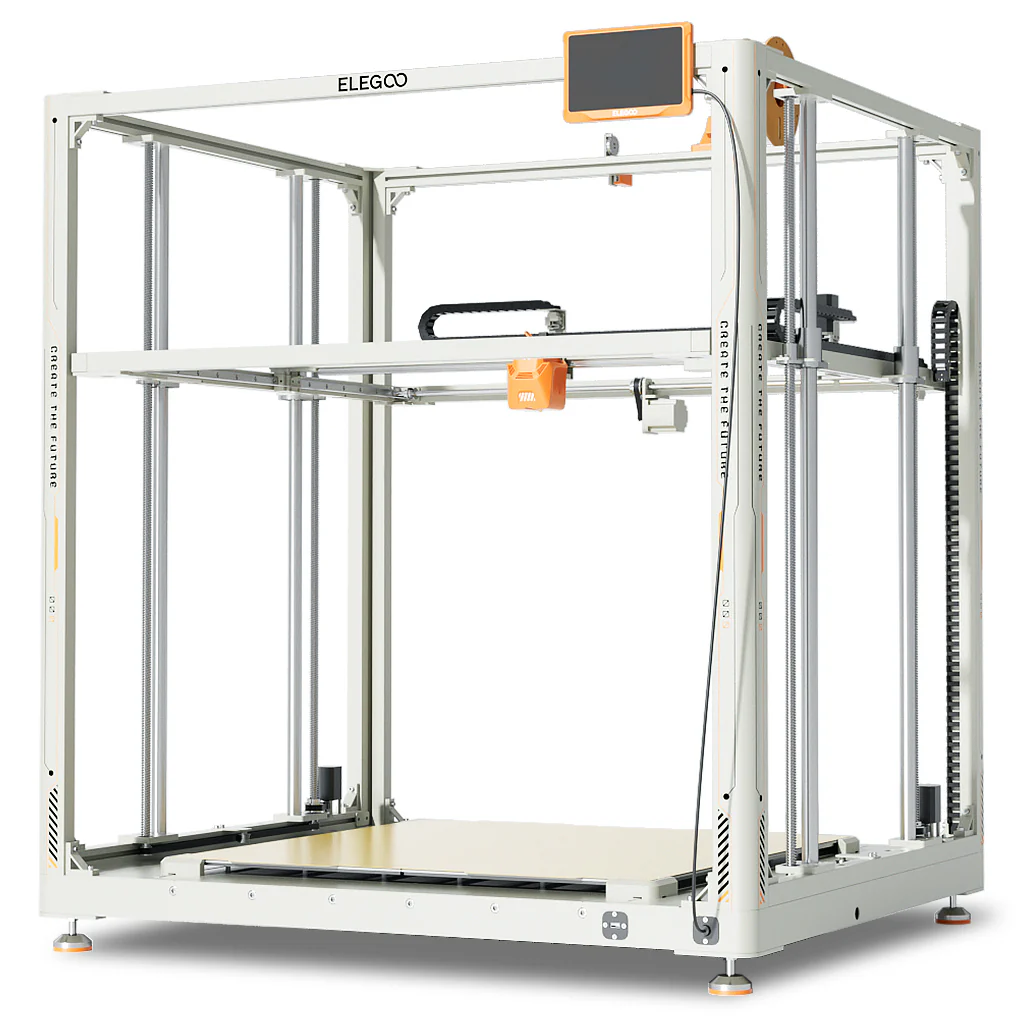
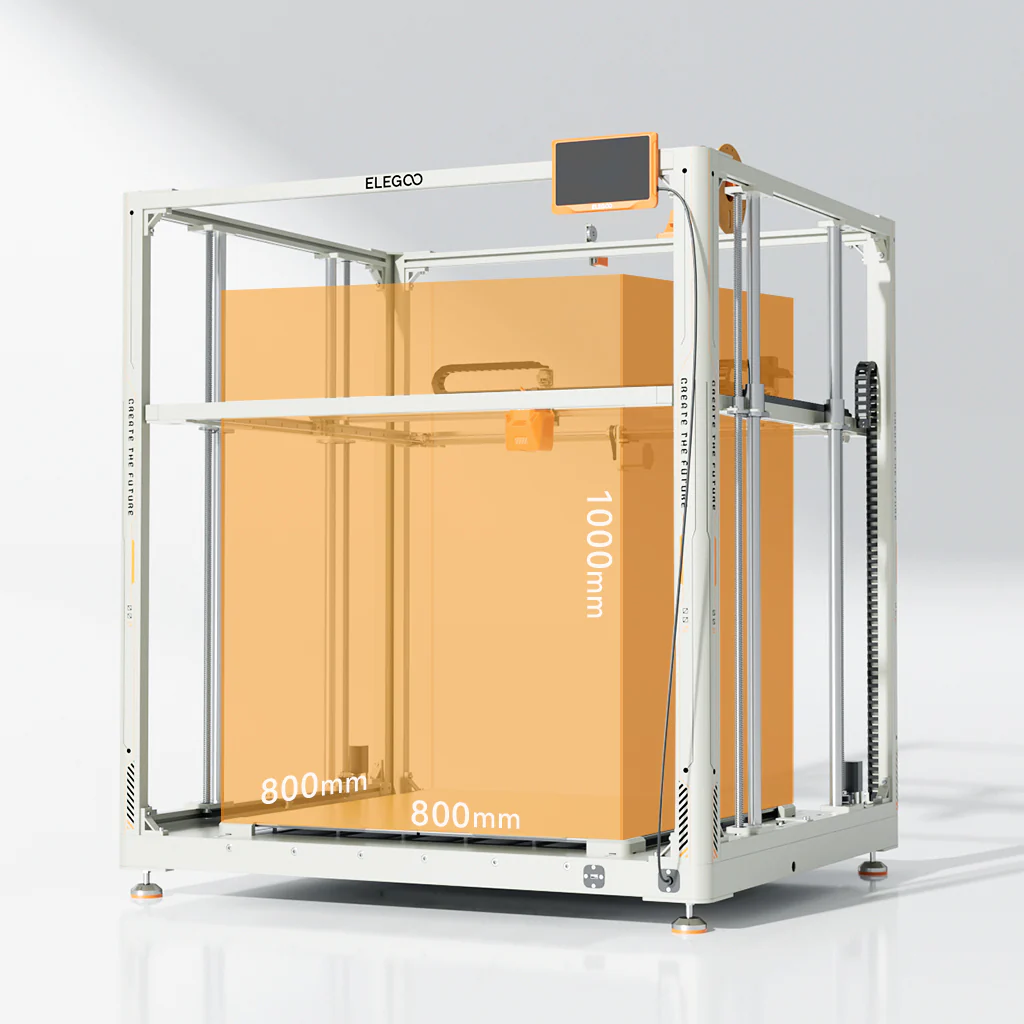
In the world of 3D printing, where innovation drives progress, Elegoo has unveiled a machine set to redefine the industry: the Elegoo OrangeStorm Giga. This isn’t just another addition to the market—it’s a significant step forward in 3D printing technology, poised to open new creative and industrial opportunities. If you’re ready to see what the future holds, let’s dive into why the OrangeStorm Giga is making waves.
Elegoo OrangeStorm Giga: Redefining Large-Scale 3D Printing
Gigantic Build Volume – A New World of Possibilities
At first glance, the most impressive feature of the OrangeStorm Giga is its massive build volume: 800mm x 800mm x 1000mm. But this isn’t just a size upgrade; it’s a game-changer.
For industrial designers, prototyping specialists, and ambitious hobbyists, the ability to print large, seamless models without splitting them into segments saves time and improves structural integrity. Whether you’re producing industrial parts or massive artistic pieces, this functionality transforms what you can achieve.
To truly appreciate the size of this printer, Elegoo has included a video or 3D model mockup of the Giga, showcasing its full potential.
Elegoo OrangeStorm Giga: Redefining Large-Scale 3D Printing
Intelligent and Efficient Heated Bed
Speed and precision are crucial in 3D printing, but efficiency is just as important—and the OrangeStorm Giga nails this balance with its intelligent heated bed system.
The heated bed consists of four independent 410mm x 410mm PEI magnetic high-temperature platforms. These platforms can heat simultaneously to 90°C in just 17 minutes (with an ambient temperature of 25°C), ensuring fast and even heating.
What sets it apart is its ability to automatically recognize and heat only the area beneath the model for increased energy efficiency. Alternatively, users can manually control the heating zones for even more customization.
Elegoo OrangeStorm Giga: Redefining Large-Scale 3D Printing
Fast Printing with High Performance
The Elegoo OrangeStorm Giga isn’t just big—it’s fast. Thanks to its 64-bit 1.5G clock speed quad-core processor (SOC RK3328), this printer delivers print speeds up to 300mm/s (with 150mm/s recommended).
Compared to standard large-format printers, this speed is six times faster. For those working on large projects, faster prints mean quicker iterations, helping you meet deadlines and get creative ideas into production faster than ever before.
Multi-Nozzle Printing for Versatility
One of the standout features of the OrangeStorm Giga is its multi-nozzle printing capability. It supports up to four nozzles on the X-axis, allowing simultaneous printing of four identical models or models in different colours.
This isn’t just about speed and productivity; it’s also about versatility. Multi-nozzle printing enables complex, multi-material designs and offers enormous potential for prototyping and creative experimentation.
Superior Cooling System for Optimal Results
Elegoo has also paid close attention to cooling, which is critical for print quality and machine longevity. The printer is equipped with thicker dual-sided cooling fans designed to keep prints sharp and precise.
Its intelligent control system automatically turns off the fans once printing is complete, reducing noise, saving energy, and extending the life of the hardware—a thoughtful addition for both home users and industrial environments.
Upgraded Nozzle for Precision and Efficiency
The 300°C high-temperature nozzle features a proximal double-gear extrusion structure and a full titanium alloy heat pipe. With a chrome zirconium copper nozzle and a 60W ceramic heating pad, it ensures smoother and more uniform extrusion for improved printing precision.
Additionally, the nozzle includes PID auto-calibration for precise temperature control and a built-in acceleration sensor for resonance compensation, enhancing overall print quality. The standard nozzle diameter is 0.6mm, with optional sizes ranging from 0.4mm to 1mm.
Auto-Leveling for Hassle-Free Setup
Leveling the bed can be a challenge for many users, but the OrangeStorm Giga simplifies this with an automatic leveling system. This ensures accurate prints without the frustration of manual adjustments.
High-Quality Craftsmanship
The OrangeStorm Giga’s design combines durability and elegance. Its integrated body, linear guides on the X and Y axes, and an upgraded Z-axis rod improve stability and extend the machine’s lifespan. The carbon steel round base and rubber anti-slip pads add to the overall robust construction.
Powerful Features for a User-Friendly Experience
Caterpillar Cable Tracks for smooth and organized cabling.
Filament Detection & Power Loss Recovery to ensure uninterrupted printing.
Portable 7-inch HD Capacitive Screen for intuitive operation.
User-Friendly Belt Knobs for easy adjustments.
Large Spool Holder for handling larger filament spools up to 5kg.
Languages Supported: English, French, German, Russian, Italian, Spanish, Japanese, Chinese
Machine Size: 1224 x 1164 x 1425 mm³
Weight: 104kg (Net), 145kg (Gross)
Power Supply: 100-120V / 220-240V
In Summary
The Elegoo OrangeStorm Giga is more than just a large 3D printer; it’s a beacon of innovation for the entire industry. Its massive build volume, intelligent heating system, blazing-fast speed, multi-nozzle capabilities, and superior cooling design make it a printer that stands apart from the competition.
Whether you’re an industrial user seeking faster prototyping or a maker with a passion for pushing creative boundaries, the OrangeStorm Giga is the tool you’ve been waiting for.
If you’ve been following my reviews on The Gadget Man, you’ll know I have a deep appreciation for innovation and practicality, particularly when it comes to tech that enables creativity. Enter the Anycubic Kobra S1 – a device that has transformed my 3D printing experience and firmly established itself as an indispensable tool in my workshop. After clocking over 100 hours of printing with this machine, I can confidently say it’s a game-changer in the world of consumer-grade 3D printers.
Anycubic Kobra S1 Combo
Dimensions and Specifications
The Anycubic Kobra S1 Combo boasts a compact yet highly functional design. It operates at 46dB in standard mode and an impressively quiet 44dB in quiet mode, making it suitable for home and office environments. The maximum nozzle temperature of this printer reaches an impressive 320°C, allowing for compatibility with a variety of filament types. Additionally, the print head features a quick-release mechanism, simplifying maintenance and filament swaps. With a build volume of 250 x 250 x 250 mm, it offers ample space for a wide variety of projects while maintaining a manageable footprint. The printer’s enclosed design ensures consistent environmental conditions, and the carbon filter reduces fumes, particularly useful when printing with materials like ABS. The sturdy frame and high-quality components reflect Anycubic’s commitment to durability and reliability. The machine’s heated bed, capable of reaching temperatures up to 120°C quickly, is paired with a magnetic PEI print bed, ensuring excellent adhesion during printing and easy removal of finished models. and its precision extruder provide a professional-grade 3D printing experience.
Anycubic S1 Combo – CoreXY 3D Printer – An indispensable tool for professionals and hobbiests
Unboxing and Package Contents
The Anycubic Kobra S1 arrives neatly packaged with everything you need to get started. The box includes the main printer components, a toolkit, a sample filament, the 4-reel multi-colour ACE unit, and a detailed user manual. The inclusion of these extras reflects Anycubic’s commitment to delivering value and convenience to users. The unboxing experience is satisfying, and the care in packaging ensures everything arrives in pristine condition.
Assembly and Initial Setup
Straight out of the box, the setup process is impressively straightforward. The clear and concise user manual walks you through installing the print head, screen, and filament holder. Even for those new to 3D printing, the step-by-step instructions make assembly approachable and stress-free. Connecting the multi-colour ACE unit is a simple task, and the machine is designed for intuitive use. Within an hour, I had the printer fully assembled and ready to begin its first calibration.
One standout aspect of the setup process is the printer’s resonance compensation system. During initial configuration, the Kobra S1 moves the print head rapidly in a controlled pattern to measure vibrations. This data allows the printer to adjust and compensate for resonance during printing, resulting in smoother, more accurate outputs. This feature is particularly impressive as it demonstrates Anycubic’s dedication to precision and innovation.
Anycubic S1 Combo – CoreXY 3D Printer – An indispensable tool for professionals and hobbiests
Software and User Interface
The Anycubic Kobra S1 supports widely-used slicing software like Cura and Anycubic’s own Photon Workshop. It is compatible with a range of nozzle diameters, including the standard 0.4mm as well as 0.2mm, 0.6mm, and 0.8mm options for expanded versatility in project designs. These platforms offer intuitive interfaces and extensive options for fine-tuning your prints. Once the software is installed, connecting the printer is a breeze, and the user-friendly touchscreen interface on the printer itself makes controlling print jobs straightforward. It’s a well-thought-out ecosystem that bridges functionality and ease of use.
Performance and Material Versatility
In terms of performance, the Kobra S1 punches well above its weight. I began with PLA and PLA+, and the results were remarkable. Prints exhibited exceptional precision, fine details, and consistent layer adhesion. The enclosed design minimizes environmental factors, ensuring stable and reliable results.
Venturing into ABS printing was where the Kobra S1 truly shined. The enclosed chamber with a carbon filter ensured stable temperatures, reducing warping and odours. The heated bed and high-performance extruder proved their worth, handling ABS effortlessly and delivering smooth, robust prints. The addition of the multi-colour ACE unit enabled stunning multi-material prints, allowing for creative designs that were previously out of reach with single-extruder systems.
Before using the Kobra S1, I was limited to manual filament changes when attempting multi-colour prints. The Kobra S1’s full support for multi-colour printing has been a revelation, saving time and reducing errors. However, it’s worth noting that the use of prime towers for filament flushing can lead to some filament waste, a consideration for those conscious of material efficiency.
Standout Features
The heating 4-reel multi-colour ACE unit is undoubtedly the crown jewel of the Kobra S1. This innovative unit is also heated, allowing for in-print filament pre-heating, which ensures consistent material flow and print quality. The quick-release print head further enhances convenience, making it easy to swap or maintain the unit. The Kobra S1 also supports advanced features like Pressure Advance and Flow Calibration, ensuring optimal performance and precision across a range of printing scenarios. This innovative unit is also heated, allowing for in-print filament pre-heating, which ensures consistent material flow and print quality. This advanced feature facilitates seamless multi-material and multi-colour printing, unlocking unparalleled creative potential. Whether it’s intricate models, functional prototypes, or artistic creations, the ACE unit’s reliability and precision make it a joy to use.
Another highlight is the auto-levelling system. This feature eliminates one of the most common frustrations in 3D printing—manual bed levelling. With the Kobra S1, you can count on a perfectly levelled print bed every time, ensuring optimal print quality from the very first layer.
Safety and Maintenance
Anycubic has also prioritised user safety and maintenance ease. The enclosed design minimizes exposure to fumes, especially when working with ABS. Routine maintenance is simplified with easy access to key components and a helpful guide in the user manual. The sturdy build ensures durability, making this printer a long-term investment.
Value for Money
The Anycubic Kobra S1 stands out as an affordable yet feature-rich 3D printer. Priced competitively, it delivers professional-grade results that rival much more expensive models. With its ability to handle a wide range of materials, including PLA, PLA+, and ABS, and its advanced multi-material capabilities, the Kobra S1 offers exceptional value for hobbyists, tinkerers, and small businesses alike.
Conclusion
In conclusion, the Anycubic Kobra S1 sets a new standard for consumer-grade 3D printers. Its versatility, reliability, and professional-grade performance make it a standout choice for both beginners and experienced makers. From the heating 4-reel multi-colour ACE unit to its intuitive design, exceptional print quality, and advanced resonance compensation system, this printer offers an unparalleled user experience. If you’re in the market for a feature-packed 3D printer that doesn’t break the bank, the Anycubic Kobra S1 is a top contender. Highly recommended!
Don’t forget to enter the special offer code GADGETMAN to get a further £20 discount on your order!
In this post, we utilise Google’s LM Notebook to create a Deep Dive into this article.
Listen in to the deep dive and let me know what you think!!!
This article explores the surprisingly captivating experience of watching a 3D printer at work, delving into the perspectives of both the creator of a 3D model and casual observers. It questions whether this act is genuinely satisfying or simply hypnotic, examining the emotional, practical, and psychological elements at play.
Key Themes and Ideas:
Dual Perspectives: Creator vs. Viewer:
The Creator: For those who have designed a 3D model, the act of watching it print is a deeply personal and often emotional experience. It’s likened to watching a sculptor carve marble and it’s directly tied to their creative vision and anticipation of the final product.
Quote: “For those of us who have spent hours—sometimes days—designing a model, watching it come to life can feel akin to witnessing a sculptor carving marble. The experience is deeply personal, tied to the creative process and the anticipation of seeing your vision materialise.”
Practicality for Creators: Beyond the emotional aspect, watching a print can also provide invaluable insight into potential design flaws, allowing for refinement of the process. The creator can observe issues like poor filament flow or miscalculations.
The Viewer: For those not involved in the design, watching a 3D printer can be a mesmerising experience due to the rhythmic movement of the print head and the slow transformation of filament into a physical object. This is often compared to watching a campfire – soothing and meditative.
Quote: “For the uninitiated, the spectacle of a 3D printer at work can be downright mesmerising. There’s something hypnotic about the rhythmic movements of the print head, the hum of the stepper motors, and the slow but steady transformation of raw filament into a tangible object.”
The Element of Satisfaction:
Creator Satisfaction: For creators, satisfaction can stem from witnessing the culmination of their design efforts and from the troubleshooting and learning aspects of observing the print. It is also admitted that the novelty of watching a large print wear off and can become monotonous after a while.
Viewer Satisfaction: Viewers find satisfaction in the precision of the printing process and the visual transformation, often condensed into time-lapse videos on platforms like YouTube and TikTok. The real-time experience is described as relaxing, if not always engaging for long periods.
Quote: “These videos are undeniably satisfying, combining the visual appeal of precision engineering with the gratification of seeing a project completed in record time. But is the live experience equally captivating?”
The Role of Time:
Patience vs. Anticipation: Watching a print in real-time requires patience, and the article compares this to “watching a pot boil” where anticipation can sometimes outweigh the actual event.
Time-lapse vs. Real-Time: Time-lapse videos significantly enhance the viewing experience for casual observers, condensing hours of printing into seconds or minutes, therefore providing an instant gratification. The live experience, while relaxing for some, might not hold the same level of engagement.
Remote Monitoring and its Impact:
Convenience: Remote monitoring via webcams or software like OctoPrint allows creators to oversee the printing process without being physically present. This is a practical benefit but potentially removes the immersive aspect of watching in-person.
Enhanced Time-lapse: Modern printers often feature built-in cameras and time-lapse functions, and open-source tools like OctoPrint enhance the quality of time-lapse footage by homing the print head during capture. This also allows for cleaner and engaging footage to be shared.
Connecting Creators and Viewers: Remote monitoring and live streaming open up opportunities to share the process with a wider audience, bridging the gap between creators and viewers.
The Subjective Nature of the Experience:
No Definitive Answer: Ultimately, the article concludes that whether watching a 3D print is satisfying or not is subjective. It depends on individual perspectives, personal interests, and the context of the print.
Quote: “So, is watching a 3D print satisfying? The answer, unsurprisingly, is subjective. For creators, the process can be a blend of satisfaction, anticipation, and anxiety. For viewers, it’s often a mix of curiosity and relaxation, with the level of engagement varying based on personal interest.”
A Shared Appreciation: The real value is perhaps found in the shared appreciation for the technology, whether you’re a maker looking for flaws, a viewer enjoying the process, or someone enjoying the condensed versions of the prints online.
Conclusion:
Watching 3D prints is a multi-faceted experience that engages different emotions and interests depending on whether you are a creator or a viewer. While creators find satisfaction in seeing their design come to life and spotting potential issues, viewers are captivated by the precision and mesmerising process. The use of time-lapses and remote monitoring adds another layer to how individuals experience the act of 3D printing. Ultimately the article concludes that appreciation for the process lies in the intersection of art and engineering and is down to the individual viewer.
As 3D printing continues to weave its way into our lives—from prototyping and manufacturing to hobbyist creations—there’s a unique phenomenon that many of us in the maker community have either experienced or pondered: the act of watching a 3D print come to life. Whether you’re the creator of the object or a casual observer, the sight of a nozzle meticulously layering molten plastic can evoke a surprising array of emotions.
But the question remains: is it truly satisfying to watch a 3D print? And does the experience differ for the person who designed the print versus a general viewer? Let’s explore this fascinating intersection of technology, creativity, and psychology.
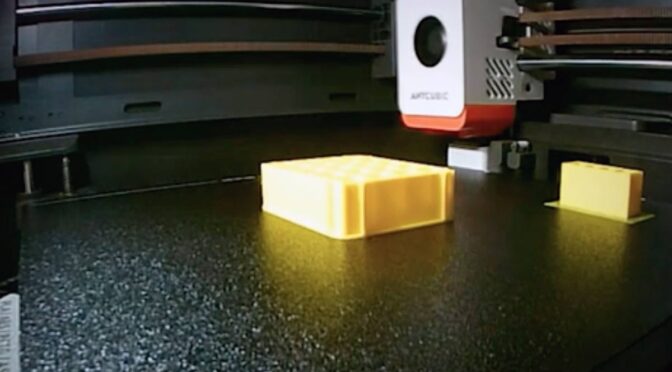
The Anycubic Kobra S1 Combo offers an internal camera for both viewing live print job via the mobile app or slicing software along with a time-lapse function (which you can see above featuring the construction of a ‘poop-bin’).
Anycubic Kobra S1 Combo
The Creator’s Perspective
For those of us who have spent hours—sometimes days—designing a model, watching it come to life can feel akin to witnessing a sculptor carving marble. The experience is deeply personal, tied to the creative process and the anticipation of seeing your vision materialise.
There’s also a practical aspect: watching a print unfold can provide critical insight into potential design flaws. The layers reveal everything, from the perfect flow of filament to those dreaded moments when a miscalculation results in spaghetti-like chaos. For the creator, this isn’t just satisfying—it’s a vital part of refining their craft.
But let’s be honest: once the novelty wears off, even the most enthusiastic maker might find the process a tad monotonous. After all, watching a large print can take hours, if not days. Remote monitoring via a video link often becomes a preferred alternative—practical, yes, but does it carry the same visceral satisfaction?
The Viewer’s Perspective
For the uninitiated, the spectacle of a 3D printer at work can be downright mesmerising. There’s something hypnotic about the rhythmic movements of the print head, the hum of the stepper motors, and the slow but steady transformation of raw filament into a tangible object.
Platforms like YouTube and TikTok are filled with time-lapse videos of prints, condensed into seconds or minutes. These videos are undeniably satisfying, combining the visual appeal of precision engineering with the gratification of seeing a project completed in record time. But is the live experience equally captivating?
Casual viewers often find the real-time process relaxing but not necessarily engaging for extended periods. Much like watching a pot boil, the anticipation can sometimes outpace the actual event. Still, there’s a niche group of enthusiasts who liken the experience to watching a campfire—soothing, meditative, and strangely addictive.
The Role of Remote Monitoring
Remote monitoring adds an interesting layer to the debate. For creators, tools like OctoPrint or a webcam setup allow for constant oversight without being tethered to the printer. This practical solution can also serve as a bridge between creators and viewers, enabling live streams of prints for a global audience.
Most modern printers now come equipped with built-in cameras and the ability to create time-lapse videos. Open-source tools like OctoPrint have even enhanced this experience by homing the print head during time-lapse capture, resulting in cleaner and more engaging footage. These advancements not only make monitoring more practical but also elevate the viewing experience for creators and audiences alike.
However, the satisfaction derived from remote monitoring often depends on the context. Is it a high-stakes print with intricate details? Or a simple functional piece? For viewers tuning in remotely, the experience can feel less immersive but still enjoyable, especially when paired with commentary or a clear narrative about the object’s purpose.
The Verdict
So, is watching a 3D print satisfying? The answer, unsurprisingly, is subjective. For creators, the process can be a blend of satisfaction, anticipation, and anxiety. For viewers, it’s often a mix of curiosity and relaxation, with the level of engagement varying based on personal interest.
Perhaps the real magic lies in the shared appreciation for the technology. Whether you’re a maker checking for flaws, a viewer marvelling at the process, or someone enjoying a time-lapse on social media, 3D printing offers a unique window into the intersection of art and engineering.
So, next time you find yourself mesmerised by a print—either in person or remotely—take a moment to reflect on what it is that holds your attention. Is it the satisfaction of creation, the joy of discovery, or simply the hypnotic beauty of precision in motion? Whatever your answer, one thing’s for sure: 3D printing continues to capture our imagination, one layer at a time.
From Manual Filament Swapping to Automatic Colour Changes: Ender 3 vs Anycubic Kobra S1 Combo
As someone who’s had the opportunity to tinker with various 3D printers over the years, I’ve experienced both the joys and frustrations of colour swapping during prints. My journey started with manual filament swaps on the Ender 3, and now I’ve moved on to the seamless (albeit not waste-free) world of automatic colour swapping on the Anycubic Kobra S1 Combo. Let’s dive into the key differences between these two approaches and the lessons I’ve learned along the way.
Manual Filament Swapping on the Ender 3
The Ender 3 is a fantastic workhorse for beginners and enthusiasts alike. However, when it comes to multi-colour printing, you’re limited to manual filament swaps, which can only be done at specific layer heights. While this technique is simple in concept, it comes with its own set of challenges:
How It Works
Design the model with clear layer divisions for each colour.
Use your slicer software (e.g., Cura) to insert filament change commands (commonly M600 G-code) at the desired layer height.
Monitor the printer closely and manually swap the filament when prompted.
Restart the print after the filament is loaded.
Advantages
Cost-Effective: No need for additional hardware or upgrades.
Straightforward: Simple to set up with basic slicer adjustments.
Customisation: Allows for precise colour placement, as long as changes align with flat layers.
Challenges
Time-Consuming: You must stay near the printer to swap filament, especially for prints with multiple transitions.
Limited to Layers: Colour changes are restricted to flat transitions between layers, making it unsuitable for gradient or complex designs.
Risk of Errors: Improper filament loading or extrusion can result in print failures or layer inconsistencies.
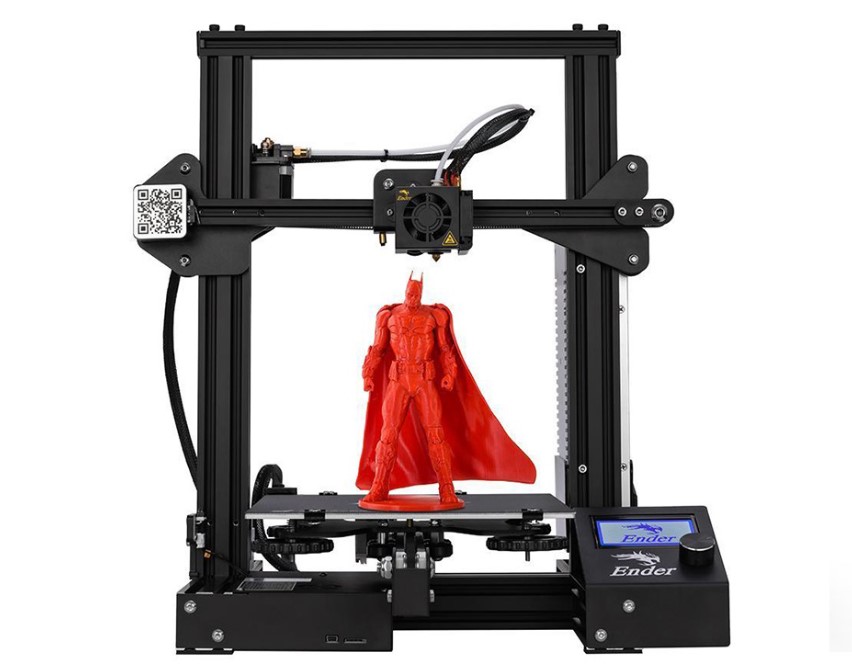
The Ender 3 is a simple “bed slinger” design, where the print bed moves along the Y-axis during printing. This makes it easy to understand and maintain but limits its speed and precision compared to more advanced designs. Manual filament swaps on the Ender 3 are a rewarding challenge, but they’re not ideal for prints requiring frequent or intricate colour changes.
Automatic Colour Swapping on the Anycubic Kobra S1 Combo
Enter the Anycubic Kobra S1 Combo, a machine that takes the hassle out of colour transitions with its automatic colour swapping capabilities. This feature is a game-changer for multi-colour printing, but it’s not without its quirks.
How It Works
Load multiple filaments into the system’s multi-material module.
Use your slicer software to assign colours or materials to specific parts of the model.
The printer automatically purges and swaps filaments as required during the print.
Advantages
Full Automation: No need to monitor the printer for manual swaps.
Flexible Design: Supports intricate, multi-colour models and even gradient effects.
Time-Saving: Once the print starts, you can walk away and let the machine handle transitions.
Advanced Features: Comes with a four-reel filament holder, filament drying capabilities (ACE Pro), and a completely enclosed design with a self-levelling bed for precision and consistency.
Core-X-Y Design: The Kobra S1 uses a core-X-Y motion system, where the print head moves along the X and Y axes, while the bed remains stationary in those directions and only moves along the Z-axis. This design allows for faster and more precise printing.
Speed: Prints significantly quicker than the Ender 3, reducing overall production time.
Challenges
Purge Waste: Automatic colour swaps generate significant purge waste, especially for frequent transitions. This waste can be a mix of materials and colours, making it harder to recycle.
Material Costs: Increased waste also means higher filament consumption, which can add up over time.
Complexity: The Kobra S1 Combo’s advanced features and capabilities make it a more complex machine to operate and maintain, compared to the hands-on simplicity of the Ender 3.
Calibration Required: Achieving perfect transitions may require fine-tuning slicer settings and calibration.
Despite these challenges, the Kobra S1 Combo excels at delivering high-quality multi-colour prints with minimal effort compared to manual methods.
Key Comparisons
Feature
Ender 3 (Manual Swaps)
Anycubic Kobra S1 Combo (Automatic)
Ease of Use
Labour-intensive
Fully automated
Print Complexity
Limited to layer changes
Supports gradients and intricate designs
Material Waste
Minimal
Significant purge waste
Time Investment
High (requires supervision)
Low (set and forget)
Cost Efficiency
More cost-effective
Higher filament consumption
Learning Curve
Simple to learn
Requires slicer and printer calibration
Features
Basic setup
Four-reel holder, filament dryer, enclosed design, self-levelling bed, Core-X-Y system
Speed
Slower print times
Significantly faster
Which System Is Right for You?
The choice between manual and automatic filament swapping depends largely on your needs:
Creality Ender 3
Ender 3: Ideal for budget-conscious users who don’t mind putting in extra effort to achieve basic multi-colour prints. It’s a hands-on machine that’s perfect for learning and tinkering.
Anycubic Kobra S1 Combo
Anycubic Kobra S1 Combo: Perfect for users looking for convenience and the ability to create complex, high-quality multi-colour designs with minimal manual intervention. Its advanced features make it a powerful tool but with added complexity.
For me, moving to the Kobra S1 Combo has been a revelation. The convenience of automatic colour swapping far outweighs the challenges of purge waste and calibration. That said, the Ender 3 taught me valuable skills and patience, which I still draw upon when troubleshooting more advanced systems.
Final Thoughts
Transitioning from manual to automatic colour swapping is like moving from a bicycle to a car—both get you to your destination, but the experience is vastly different. The Ender 3 is a great starting point for learning the fundamentals of 3D printing, while the Anycubic Kobra S1 Combo opens up a world of possibilities for complex, multi-colour creations.
If you’ve been hesitant to make the leap to automatic systems, consider this: while there’s no substitute for learning the basics, automation can free up your time to focus on what really matters—creating amazing prints.
What’s your experience with colour swapping in 3D printing? I’d love to hear your thoughts in the comments below!
If you are thinking of buying a Anycubic printer, use the discount code MATTPORTER when you check out to receive a £20 discount.