Celebrate Star Wars Day in galactic style with these top 10 must-have gifts for fans of the franchise. From the striking Original Stormtrooper 3D Helmet Decanter Set to the futuristic Bluetooth Sound Frame, and iconic character stands like Boba Fett, Ahsoka, and Grogu, these picks combine function, fandom, and design. Whether you’re updating your home bar, desk setup, or kitchen essentials, this curated selection is a stellar way to say “May the 4th be with you.”
Original Stormtrooper 3D Helmet Decanter Set £79.99 from ThumbsUp.com

Bring the Star Wars galaxy home with the Original Stormtrooper 3D Helmet Decanter Set. Officially licensed and crafted by Andrew Ainsworth, this collector’s set includes a 750ml helmet-shaped glass decanter, two coordinating glasses, and a cool black tray with soft grips. A eye-catching centrepiece for any home bar, it blends function and fandom, making it the ideal gift for collectors, film fans, or anyone looking to show-off their drinks cabinet with a touch of sci-fi style.
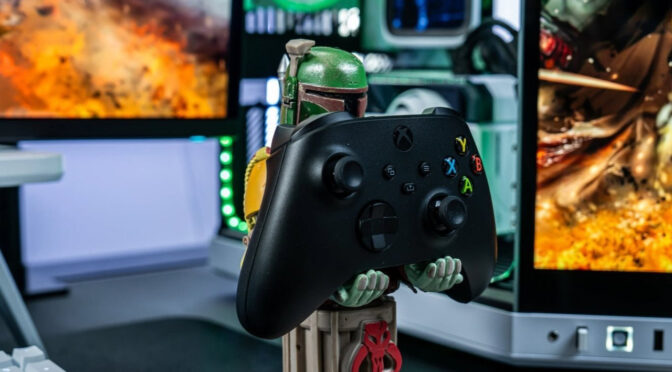
EXG Pro Star Wars: Boba Fett Cable Guys Controller Holder and Phone Stand £29.99 from ExgPro.com
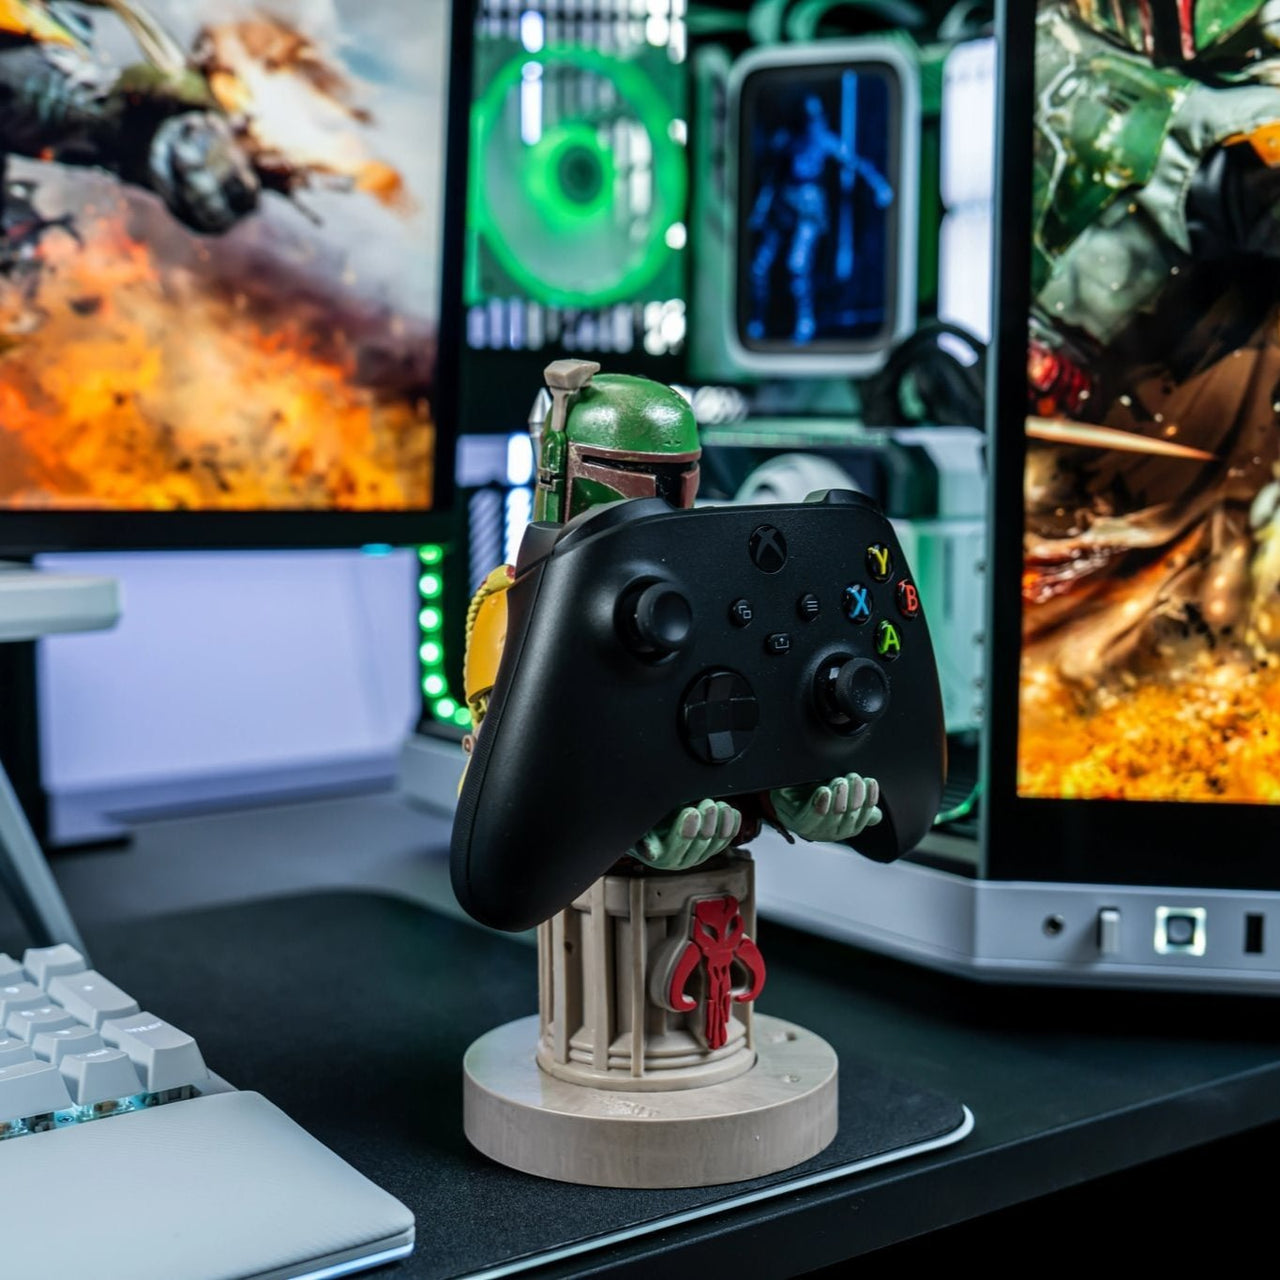
Clad in signature Mandalorian armour and ready for his next mission, Boba Fett joins the Cable Guys range as a striking display and functional accessory. Standing 8.5″ tall, this legendary bounty hunter is equipped to hold your smartphone, gaming controller, or remote with ease. Whether on your desk or shelf, Boba brings attitude and practicality to your setup. Compatible with controllers and mobile phones, this is the ultimate accessory for any fan of the galaxy’s most feared mercenary.
Original Stormtrooper Sound Frame – Bluetooth Picture Frame Speaker £49.99 from ThumbsUp.com

Experience sound and style with the Original Stormtrooper Sound Frame, a Bluetooth speaker and wall-mounted artwork in one. Officially licensed and designed by Andrew Ainsworth, creator of the original 1976 helmet, it features a bold DJ-themed Stormtrooper design. With crisp audio from a 5W speaker, universal Bluetooth connectivity, and a clutter-free setup. Easy to install and ideal for any room, it’s the ultimate gift for Star Wars fans.
Original Stormtrooper 3D Beer Glass – 1 Pint £24.99 from ThumbsUp.com

Bring the galaxy to your bar collection with the Original Stormtrooper Beer Glass., this pint glass blends authentic design with sci-fi heritage. A standout piece for any home bar, it celebrates the iconic style of the Galactic Empire while offering practical use. Ideal for collectors and Star Wars fans. it’s a unique tribute to cinematic history and classic beer enjoyment.
EXG Pro Star Wars: Ahsoka Cable Guys R.E.S.T Collectible Figure Device Holder £29.99 from ExgPro.com
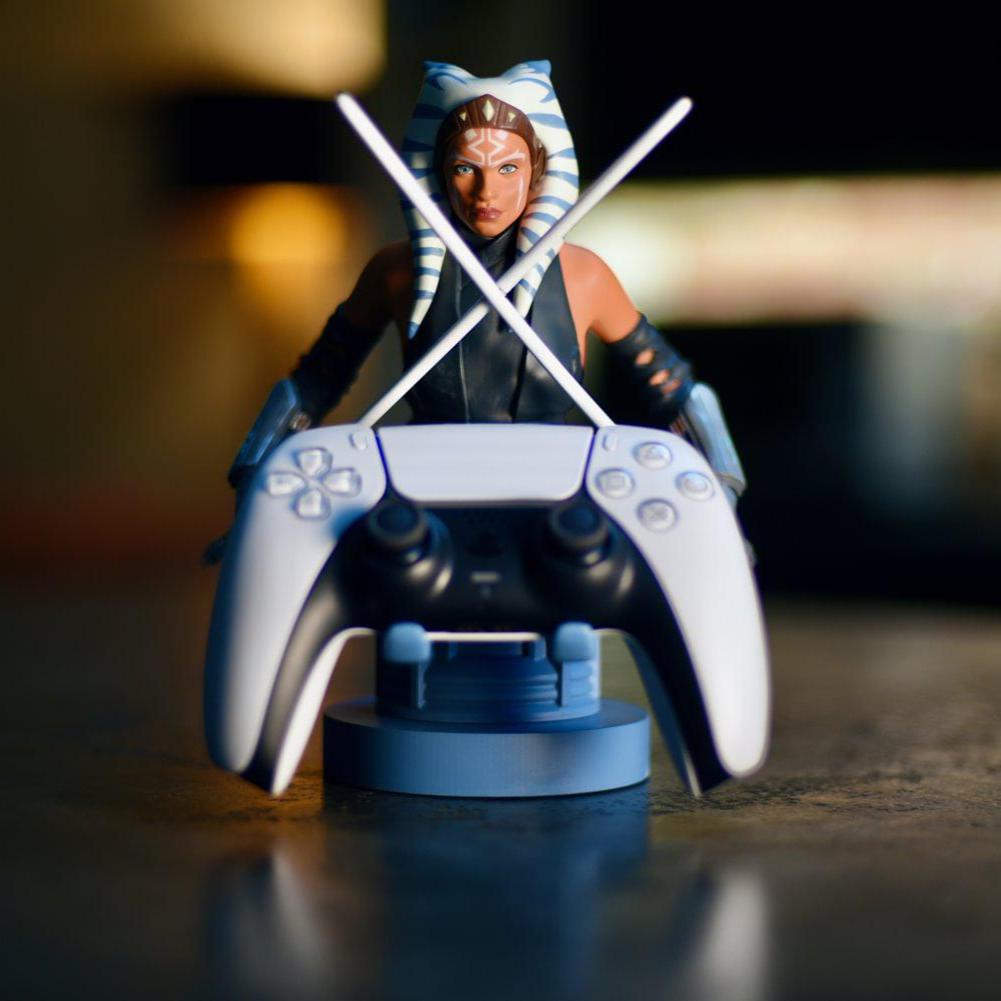
Ahsoka Tano, warrior, survivor, and symbol of resistance, joins the Cable Guys range in striking form. Known as Fulcrum and featured in The Mandalorian, she stands ready to support your tech essentials, whether it’s a gaming controller, smartphone, or remote. With her dual lightsabers and calm determination, Ahsoka brings balance to any setup. Compatible with most devices, she’s a powerful addition to any fan’s collection, blending functionality with the spirit of a true galactic hero.
Original Stormtrooper Terrarium £39.99 from ThumbsUp.com
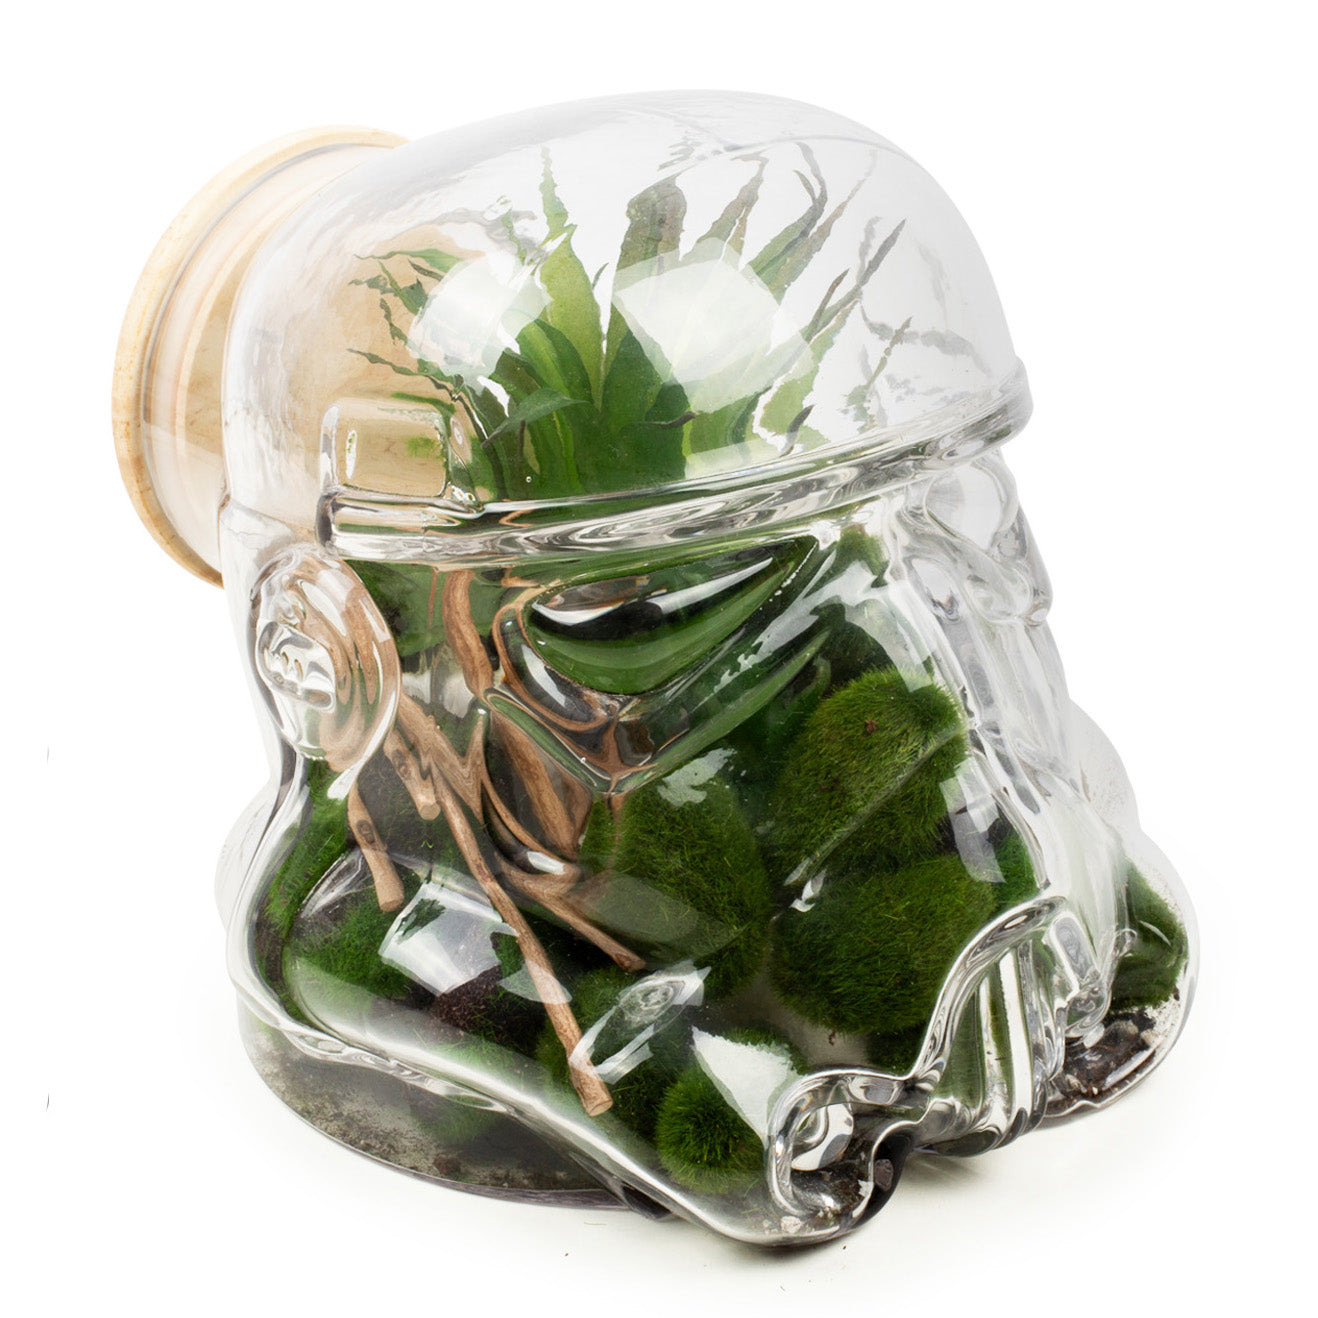
Add a touch of galactic greenery to your home with the Original Stormtrooper Terrarium. Created by the man who made the Original Stormtrooper Helmet. This stylish planter merges sci-fi design with natural charm. Durable, green and a mini planet all on it’s own, it’s perfect for creating your own little world. Ideal for fans and collectors, it brings the power of the Empire and a hint of nature into any home.
EXG Pro Star Wars: Darth Vader Cable Guys Controller Holder and Phone Stand £29.99 from ExgPro.com
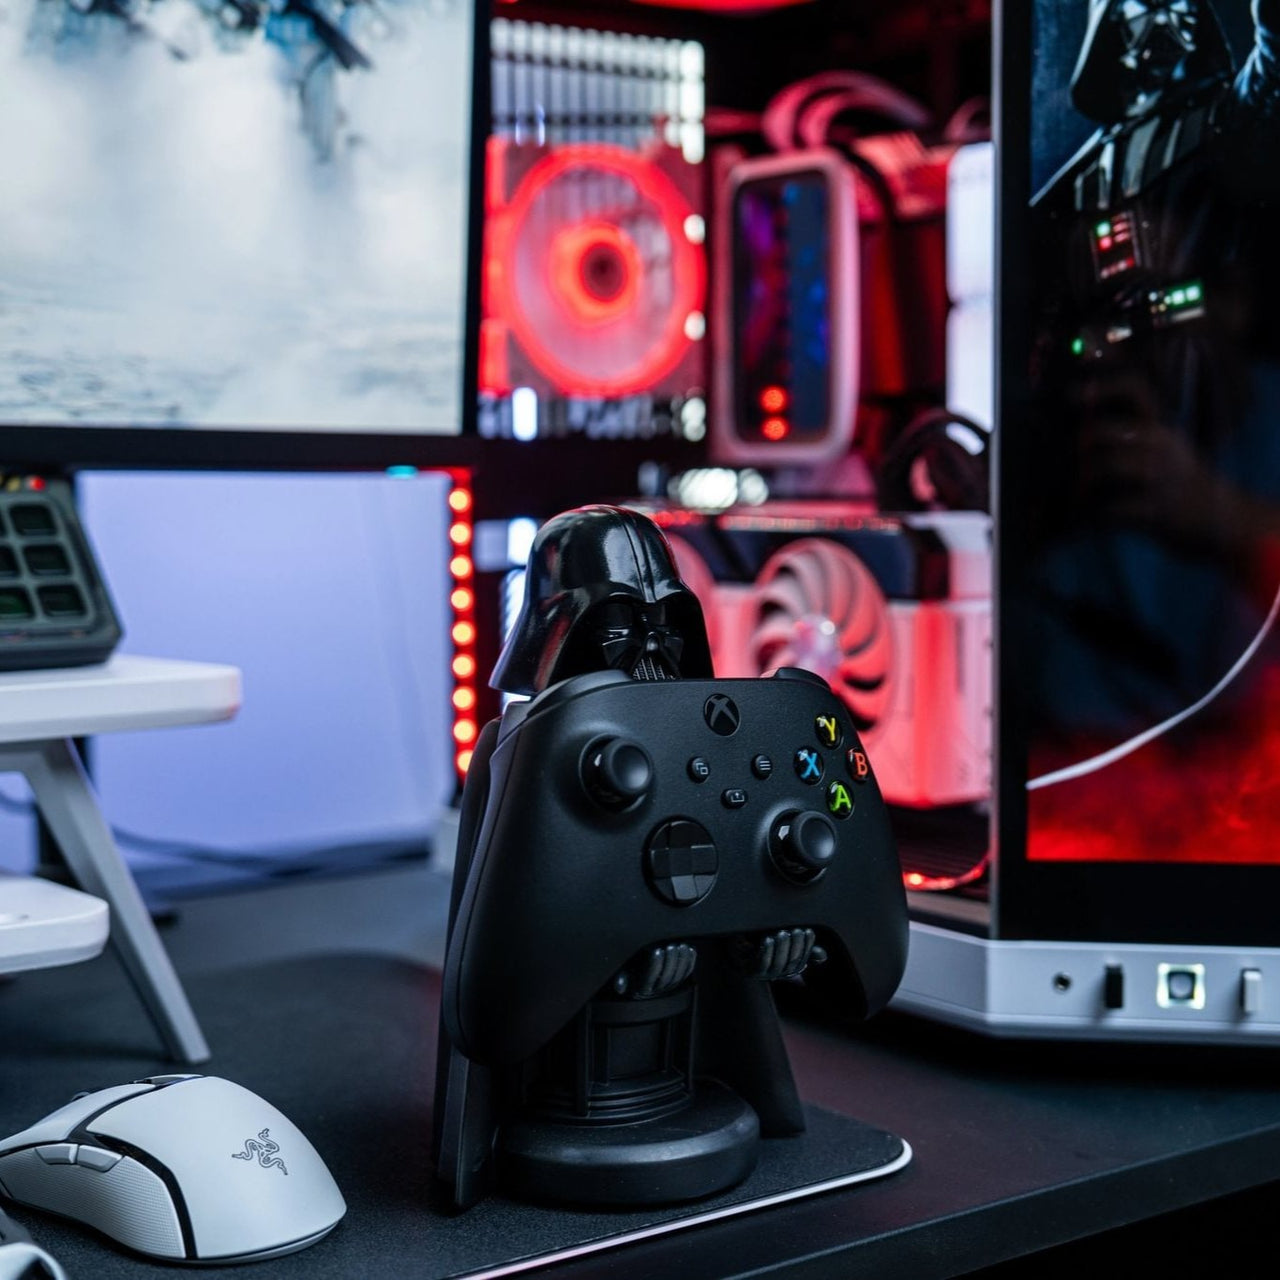
Serve the Dark Side in style with the Darth Vader Cable Guy. Officially licensed by Lucasfilm, this striking 8.5″ figure captures the iconic villain in full black armour, ready to hold your smartphone, gaming controller, or remote. Compatible with most devices, including PS5 DualSense, Xbox Series S/X, and all iPhones, it’s both functional and collectible. A must-have for Star Wars fans, this powerful display piece brings order, and convenience, to any gaming setup or desk.
Original Stormtrooper Pizza Cutting Board £11.99 from ThumbsUp.com
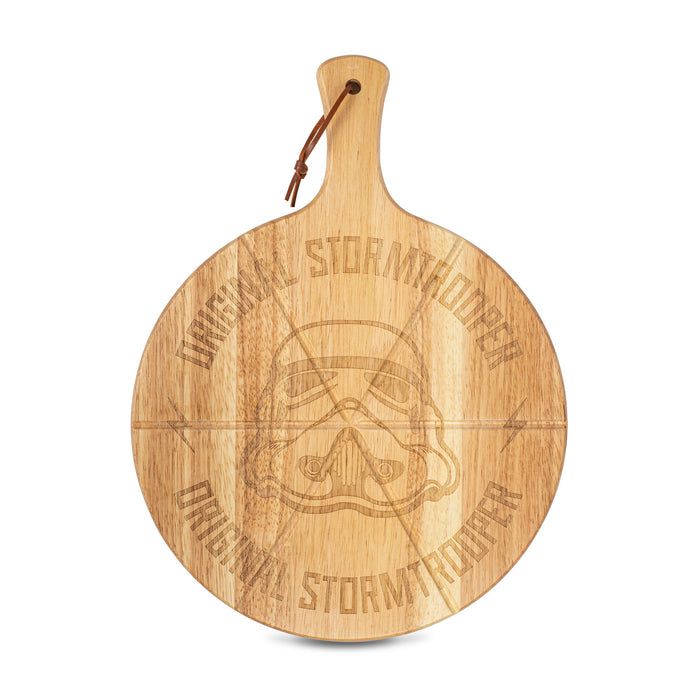
Add a real topping and galactic twist to your kitchen with the Original Stormtrooper Pizza Cutting Board. Featuring an engraved Stormtrooper helmet design, this wooden board is as practical as it is iconic. Grooved for precision slicing, it ensures perfectly cut pizza slices every time. Durable, easy to clean, and versatile enough for all kinds of food prep, it’s a standout piece for any home. A fun and functional gift for fans and foodies alike.
EXG Pro Star Wars: Grogu ‘Seeing Stone Pose’ Cable Guys R.E.S.T Collectable Figure Device Holder £29.99 from ExgPro.com

Everyone loves Grogu, now you can add him to your setup with this officially licensed Cable Guy stand. Styled from The Mandalorian series, Grogu stands 8.5″ tall atop a Jedi-script plinth in a peaceful seeing-stone pose. Compatible with most smartphones and gaming controllers. including PS5 DualSense, Xbox Series S/X, and all iPhones. It features the patented rotating R.E.S.T. shelf system for versatile use.
EXG Pro Star Wars: Imperial Stormtrooper Cable Guys R.E.S.T Collectable Figure Device Holder £29.99 from ExgPro.com
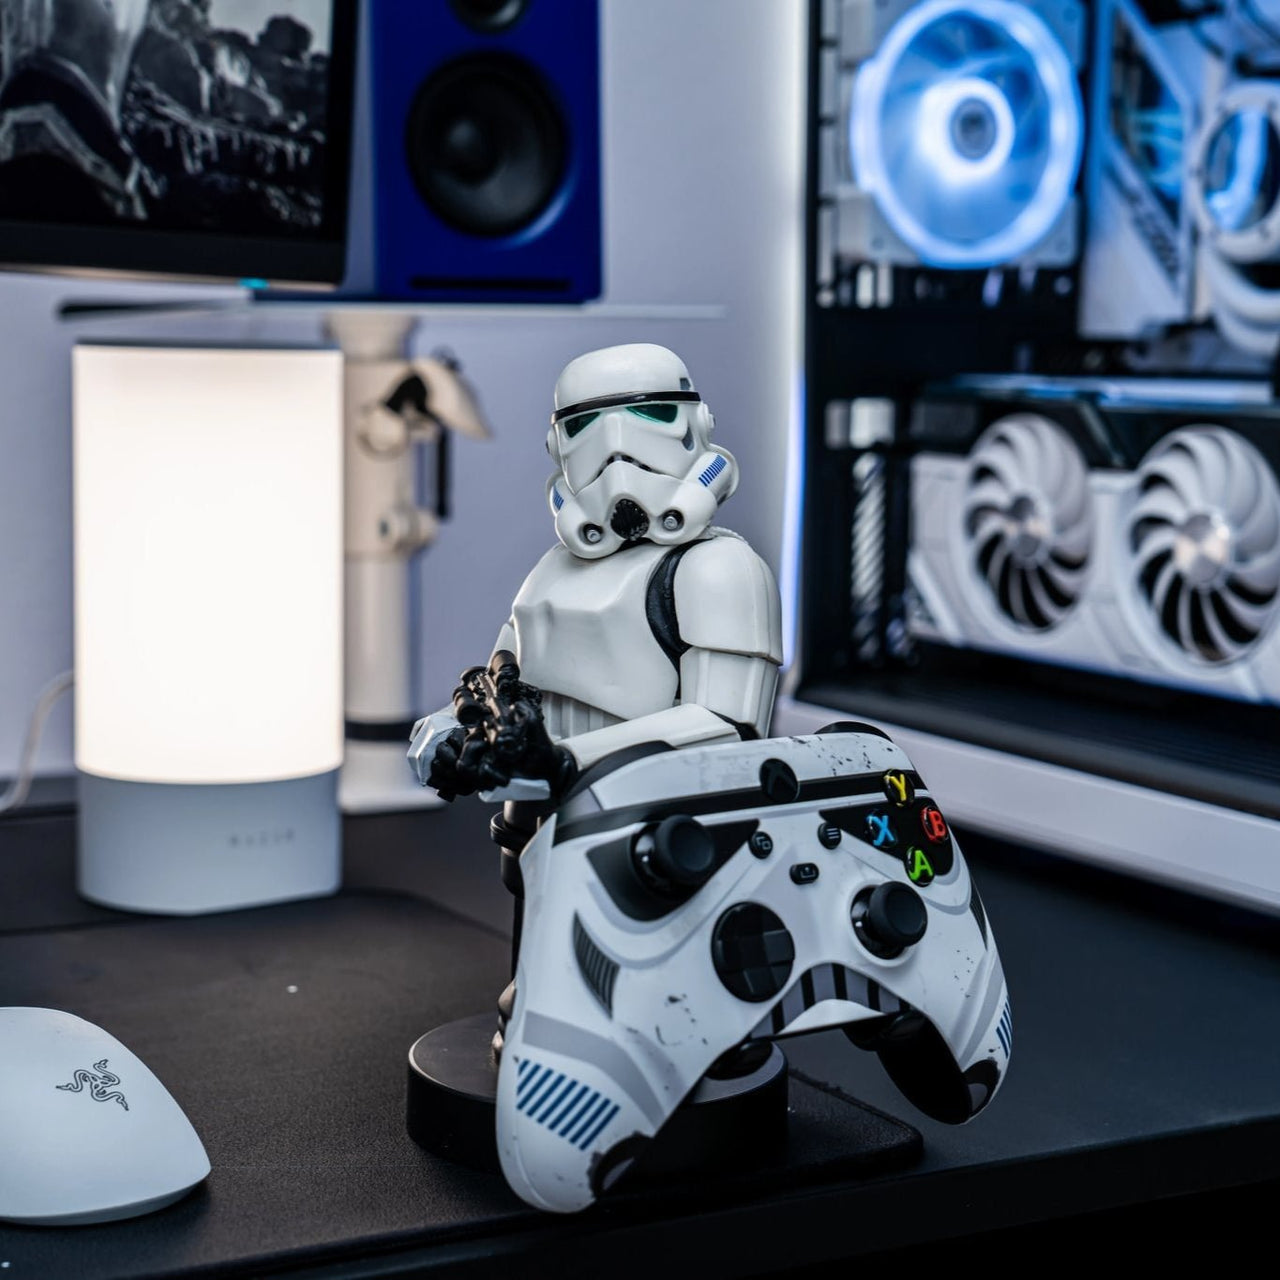
This loyal soldier of the Empire is ready to secure your smartphone, gaming controller, or remote with unwavering precision. Compatible with a wide range of devices, including PS5 DualSense, Xbox Series S/X, and all iPhones, it’s both a display-worthy collectible and a practical desktop companion for any Star Wars fan.
Like this:
Like Loading...