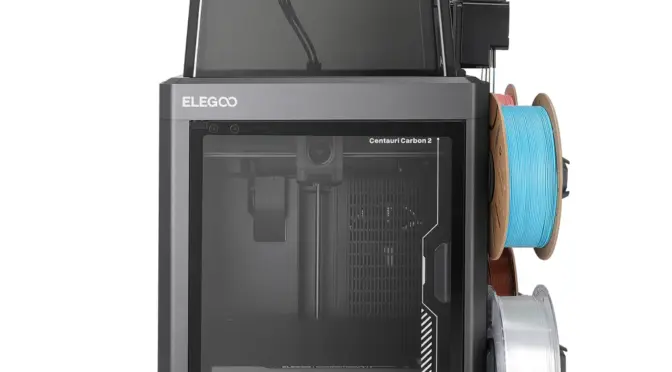
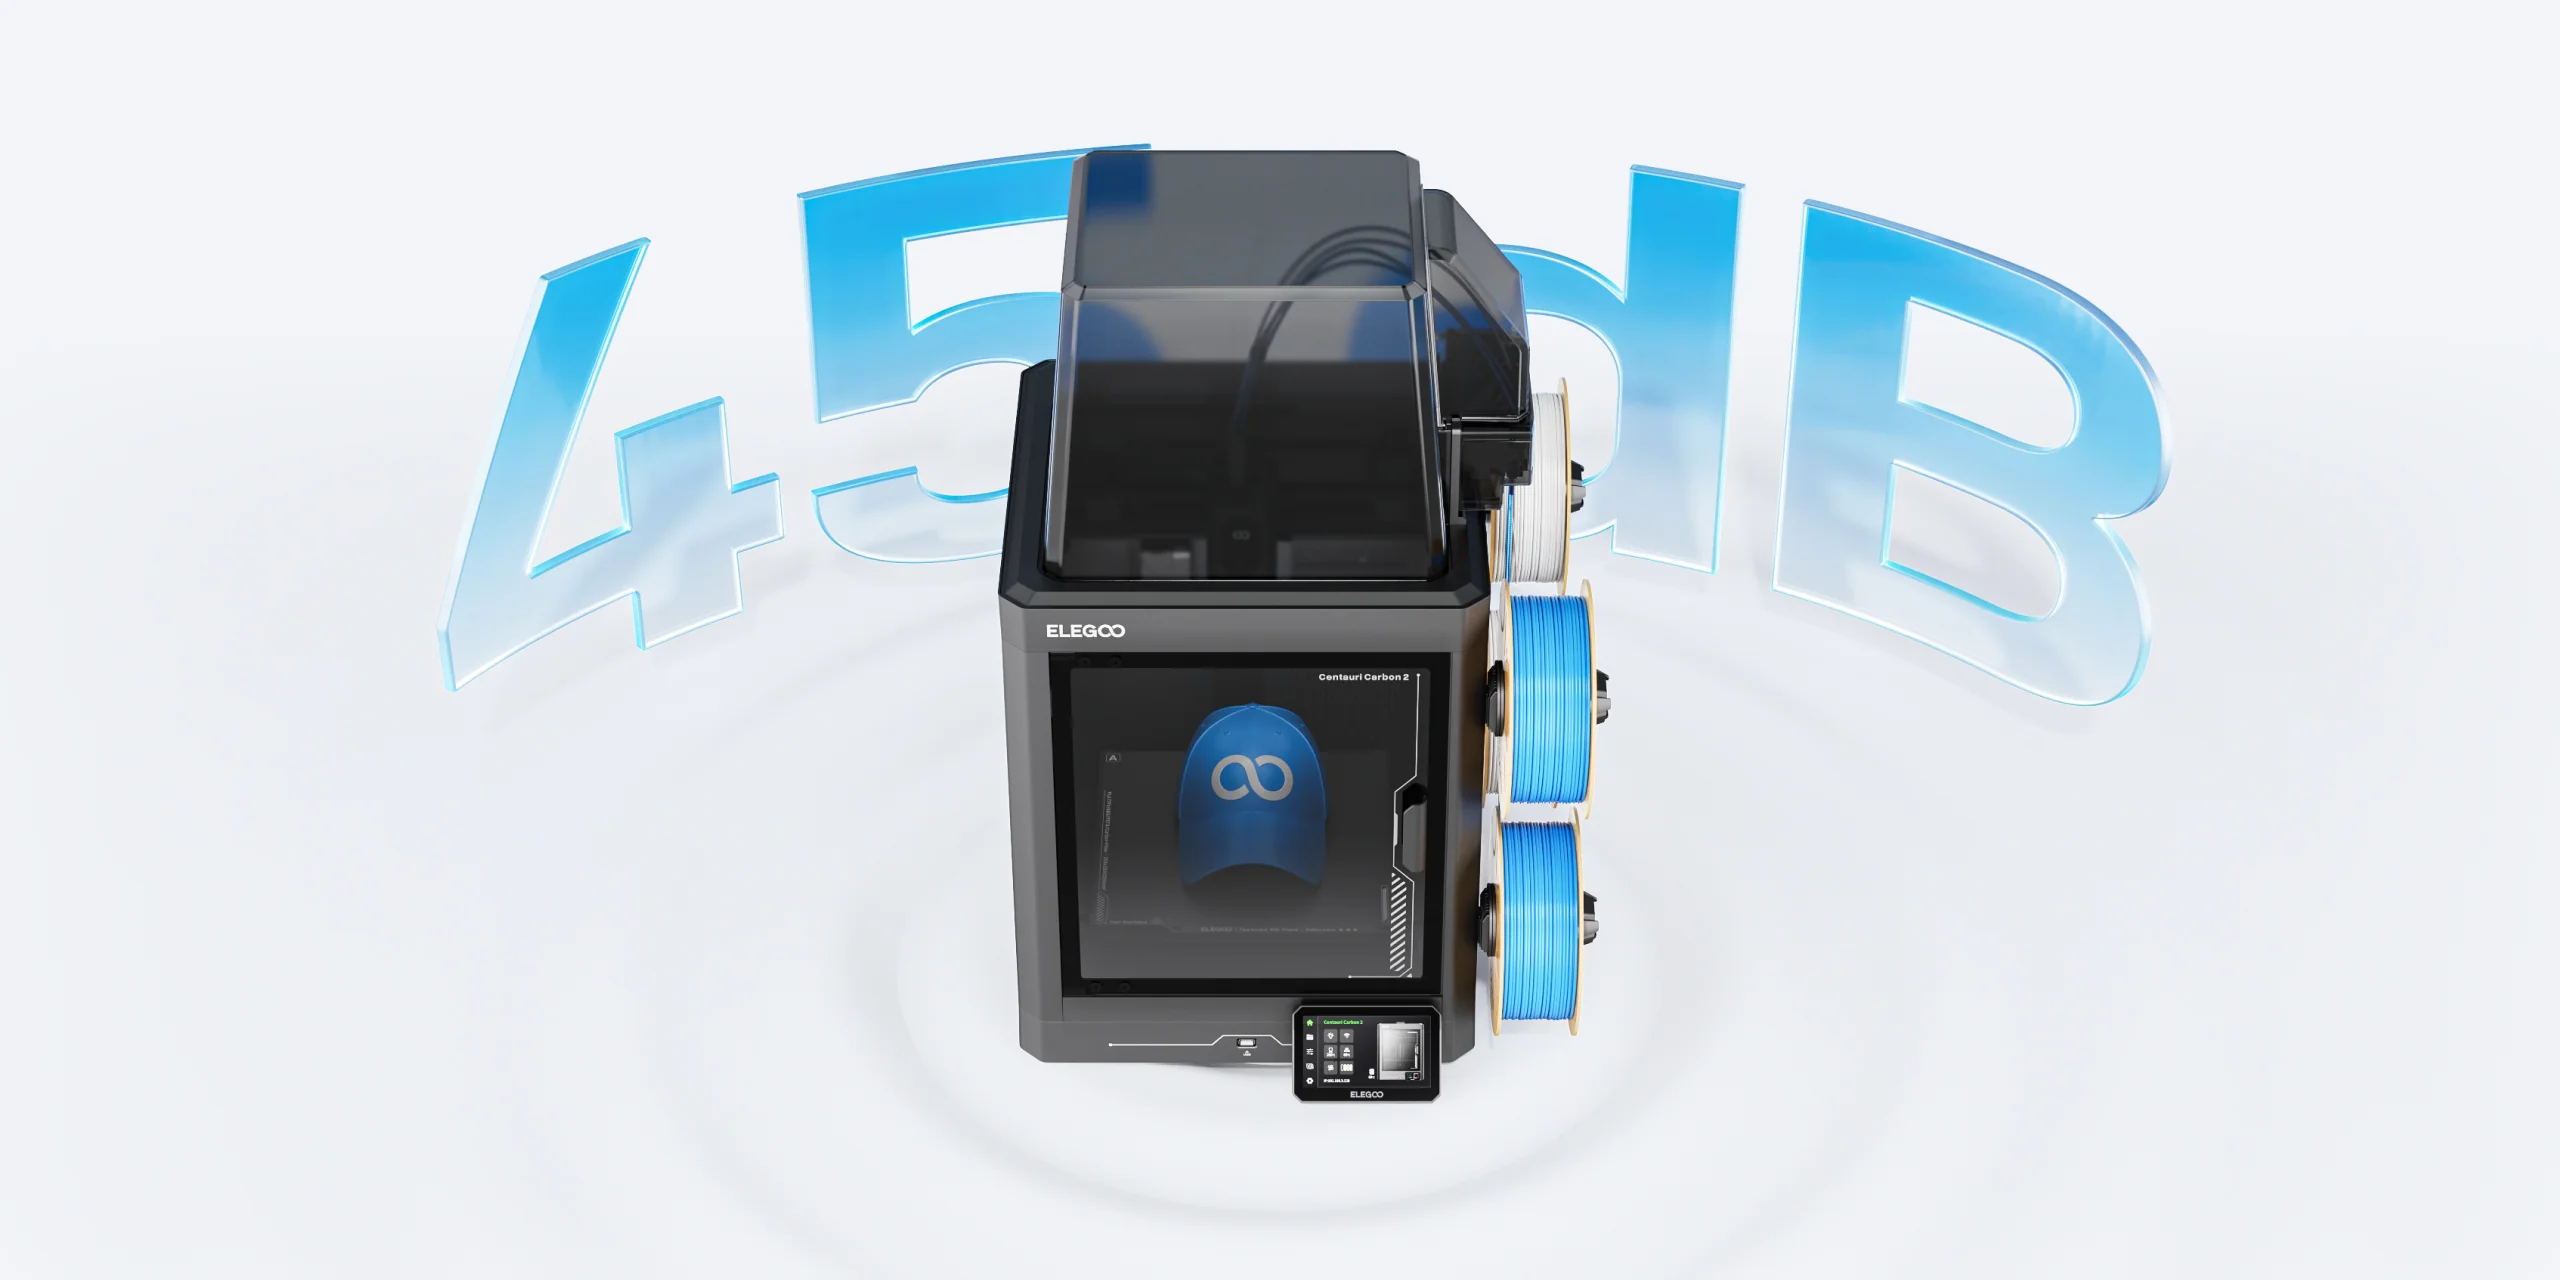
There’s a smell that stays with me from my earliest forays into additive fabrication — the warm tang of PLA as fresh layers nestle into place under a glowing nozzle, the low hum of stepper motors dancing through another night of prints in my workshop. Over the years I’ve watched the 3D printing landscape evolve, machines becoming faster, more capable and kinder to the budding maker. Today there’s a fresh breeze on the horizon as Elegoo lifts the curtain on its latest creations: the eagerly anticipated Centauri Carbon 2 and its fully fledged sibling, the Centauri Carbon 2 Combo.
Elegoo Unveils a New Chapter in Desktop 3D Printing with the Centauri Carbon 2 Series
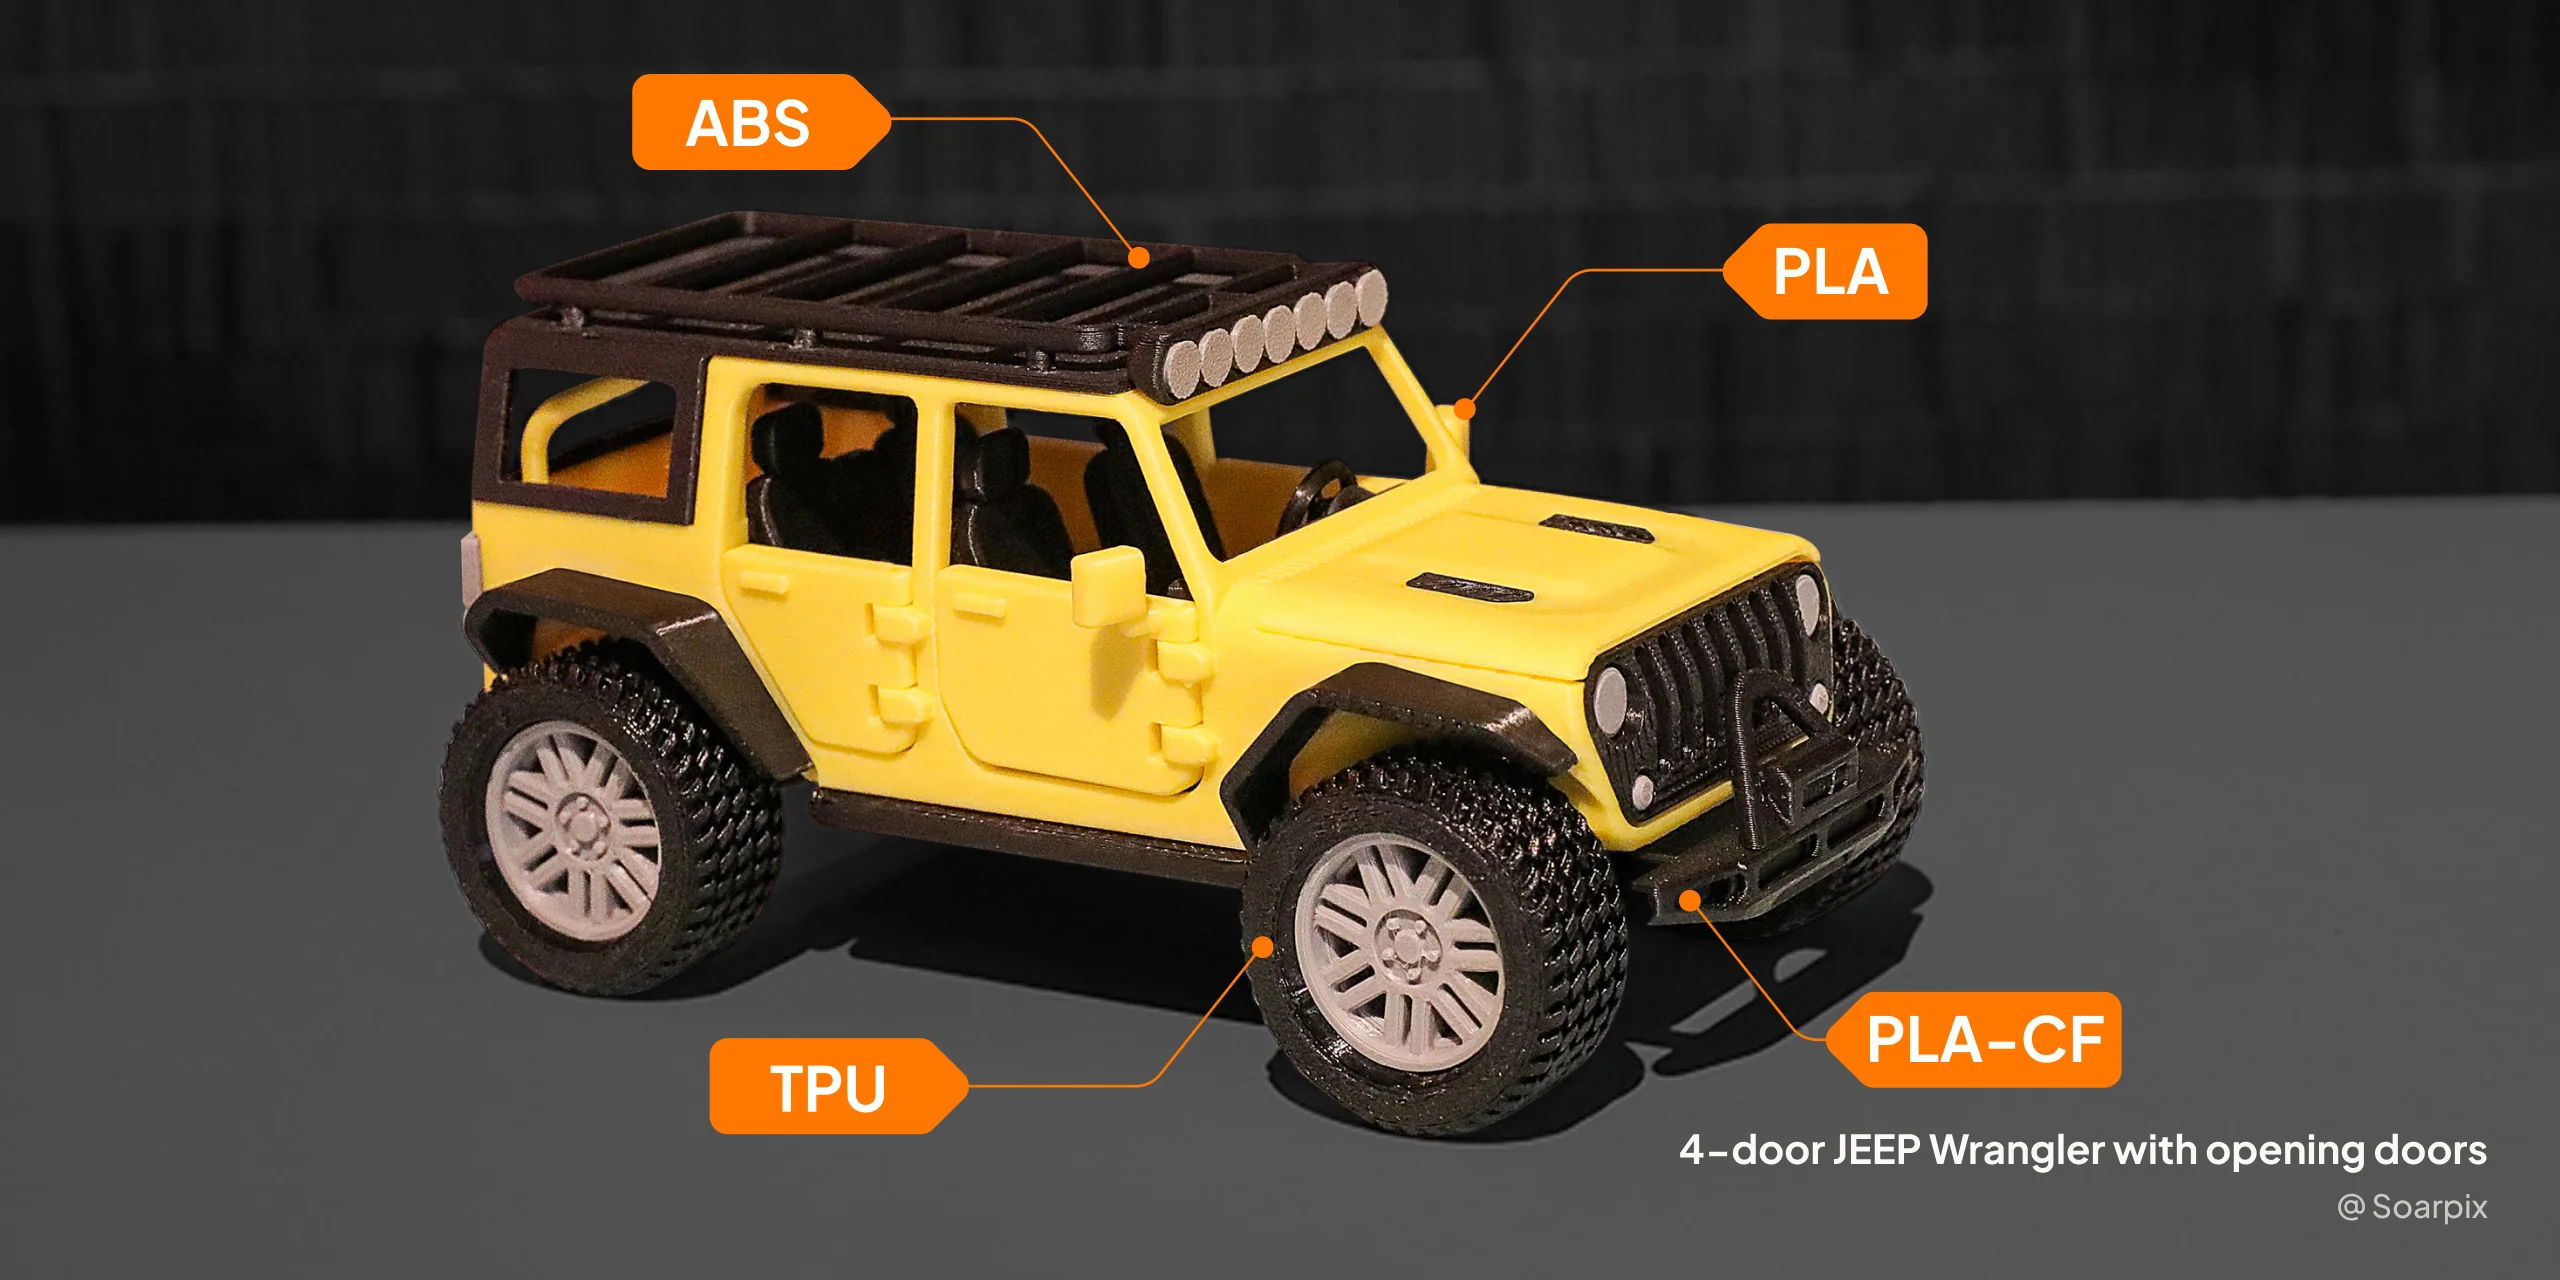
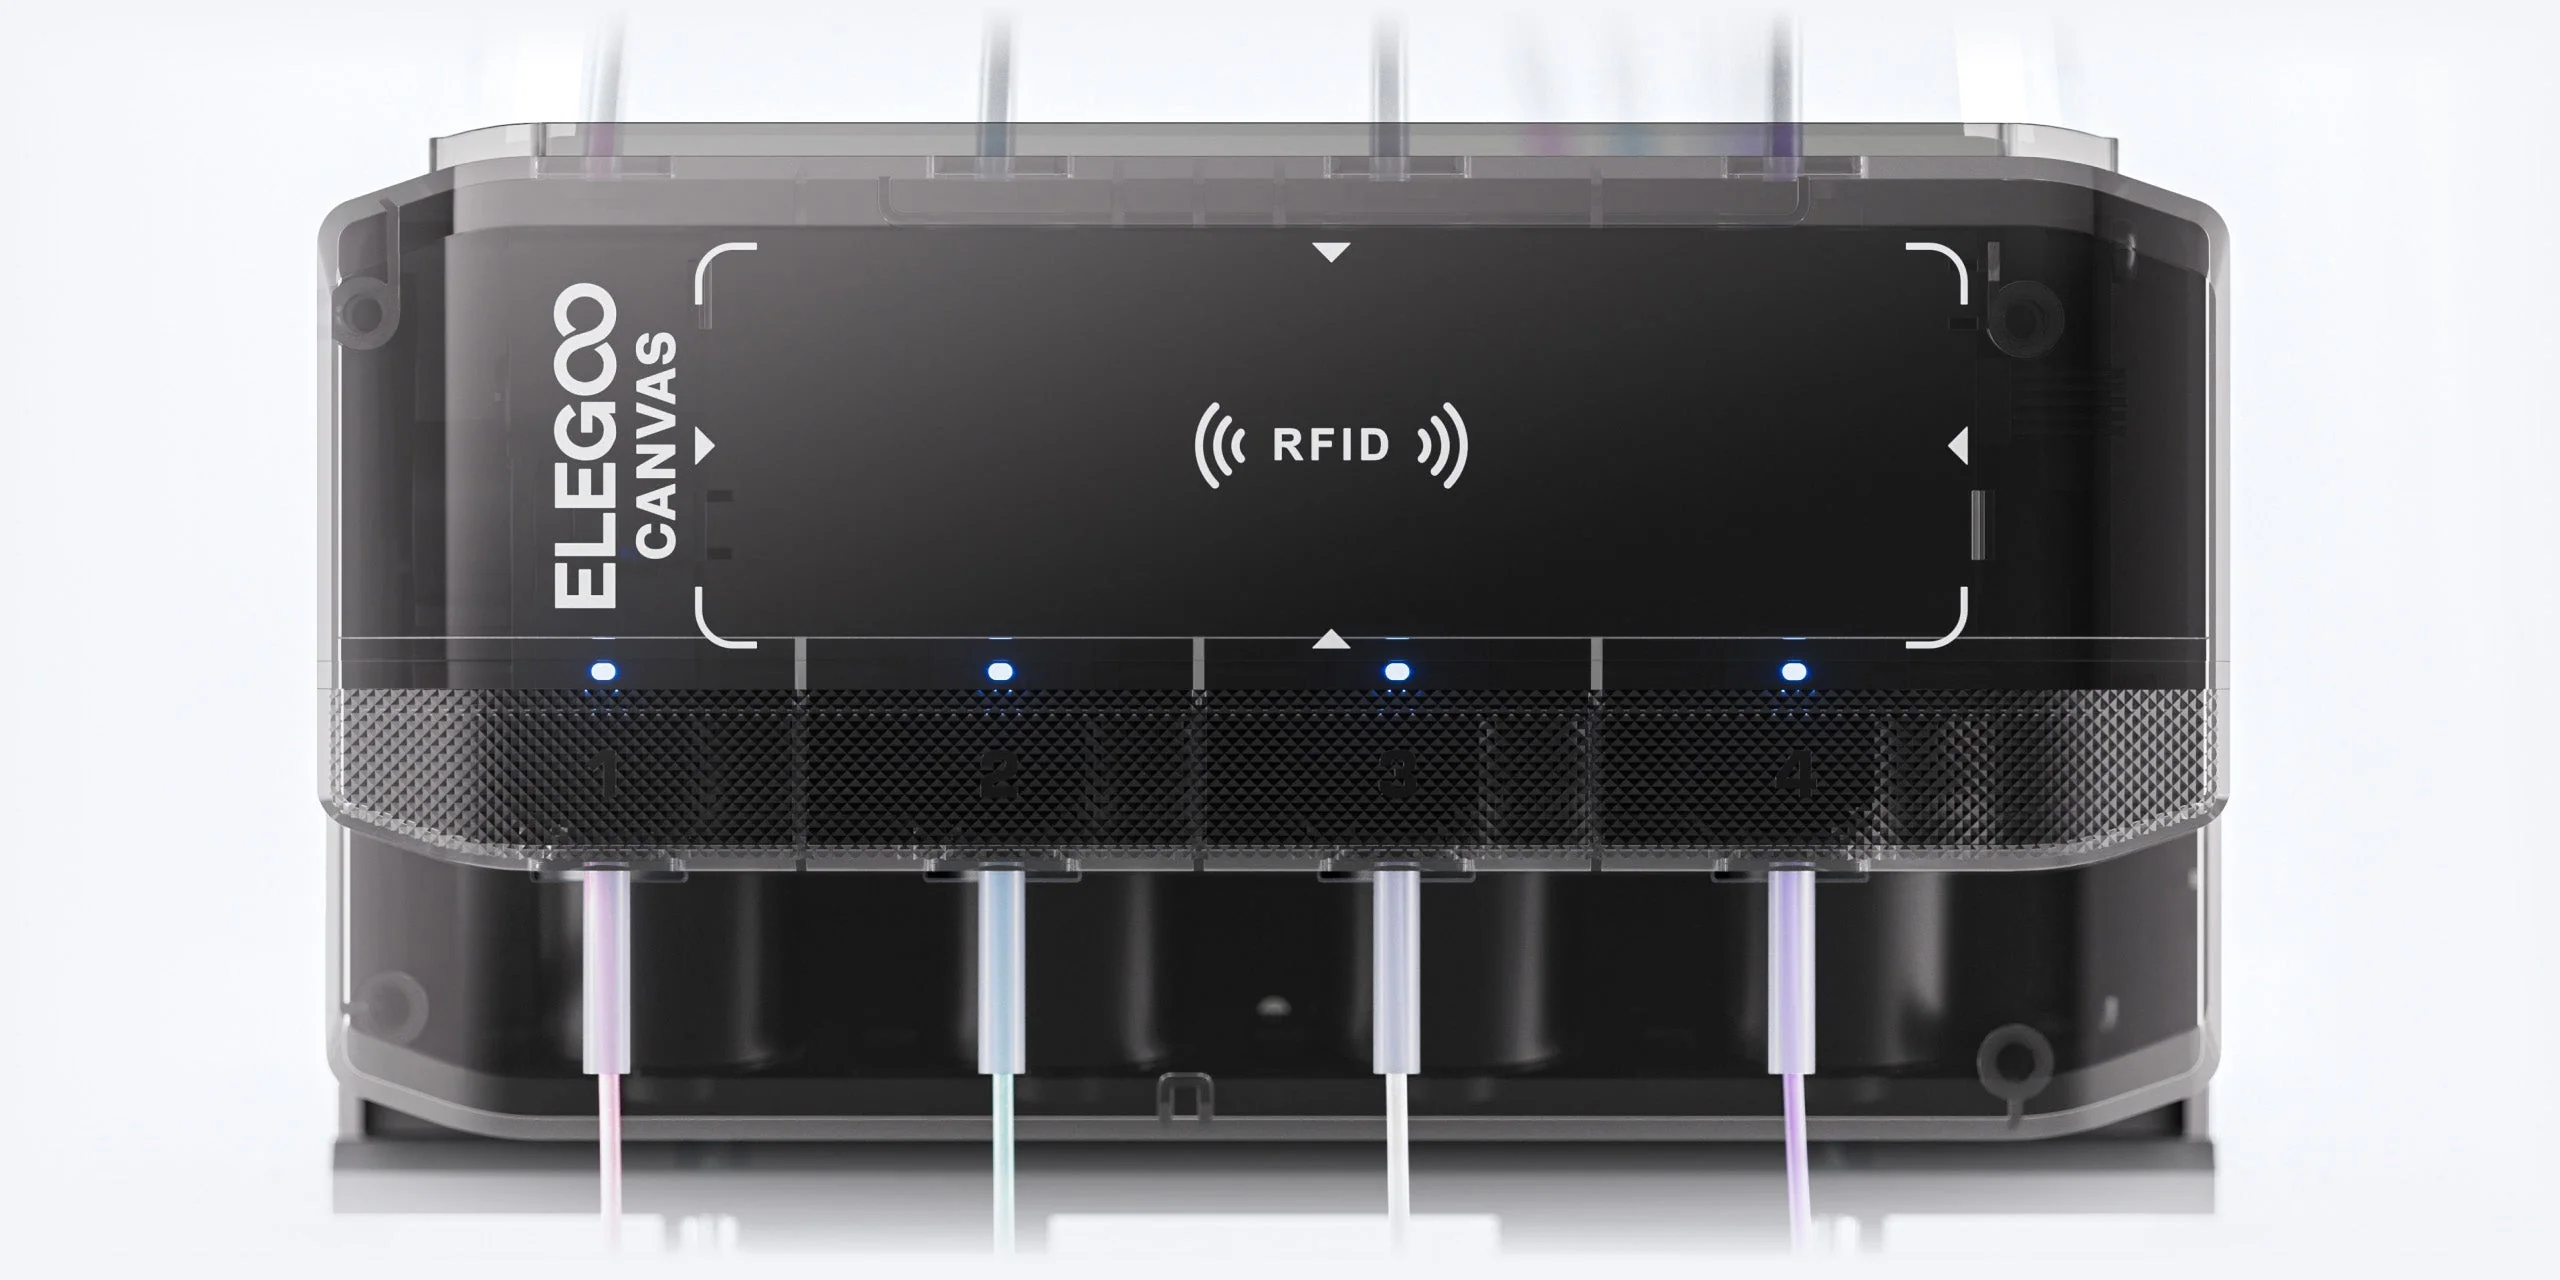
Traditionally, multicolour 3D printing has been a pursuit laced with complexity. Intricate purge towers, multiple extruders or tool-changing heads are often the price of entry. Elegoo’s new Carbon 2 family promises to change that narrative. With a CANVAS multicolour system that handles up to four filaments and even lets you switch colours mid-print, the Combo aims to bring vibrant, multi-hued prints to makers who might otherwise shy away from such workflows.
The heart of both machines remains faithful to what made the original Carbon such a joy: a CoreXY motion platform that sings with precision and speed, and a 256 × 256 × 256 mm build area that gives you room to dream — be it scenic terrain for your table-top battles or functional parts for your next project.
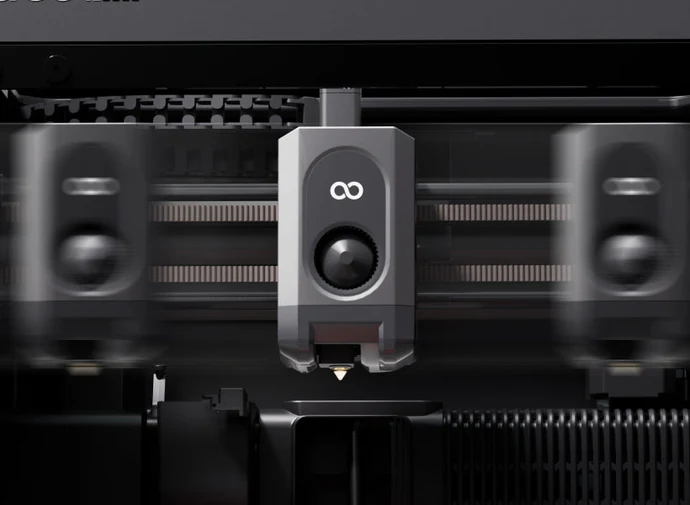
For those who relish material versatility, the Carbon 2 and Combo step things up with a 350 °C hardened steel nozzle, letting you venture beyond PLA into PETG, TPU and engineering-grade filaments that demand a bit more heat. Auto-leveling and intelligent sensor systems help reduce the faff of setup, giving you more time at the keyboard tweaking slicer settings or sipping tea as layers stack into life.
Watching a four-colour print unfold is something special. The transparent glass door on the Combo lets you glimpse that slow symphony of motion as filament dancers on their own tiny stages blend and separate to form gradients and patterns that used to be the exclusive domain of much larger machines.
From a personal perspective, the arrival of these printers feels like watching a familiar friend return from an extended journey having brought back new skills and stories. There’s a tangible sense that desktop additive fabrication is growing up, without leaving the joy of hands-on making behind.
Both models are now available direct from Elegoo’s UK store and global channels, with the Combo bringing multicolour creativity within reach of hobbyists, educators and professionals alike. Prices start at an accessible point for what is fundamentally a step change in capability, and if you’ve ever found yourself yearning for more expressive prints without wanting to wrestle with complexity, these new Carbon 2 machines may be the ticket.
As with all tools of creation, the true magic isn’t in the spec sheet or glossy launch photos — it’s in the quiet hours spent watching your imagination take shape, layer by patient layer.
From Manual Filament Swapping to Automatic Colour Changes: Ender 3 vs Anycubic Kobra S1 Combo
As someone who’s had the opportunity to tinker with various 3D printers over the years, I’ve experienced both the joys and frustrations of colour swapping during prints. My journey started with manual filament swaps on the Ender 3, and now I’ve moved on to the seamless (albeit not waste-free) world of automatic colour swapping on the Anycubic Kobra S1 Combo. Let’s dive into the key differences between these two approaches and the lessons I’ve learned along the way.
Manual Filament Swapping on the Ender 3
The Ender 3 is a fantastic workhorse for beginners and enthusiasts alike. However, when it comes to multi-colour printing, you’re limited to manual filament swaps, which can only be done at specific layer heights. While this technique is simple in concept, it comes with its own set of challenges:
How It Works
Design the model with clear layer divisions for each colour.
Use your slicer software (e.g., Cura) to insert filament change commands (commonly M600 G-code) at the desired layer height.
Monitor the printer closely and manually swap the filament when prompted.
Restart the print after the filament is loaded.
Advantages
Cost-Effective: No need for additional hardware or upgrades.
Straightforward: Simple to set up with basic slicer adjustments.
Customisation: Allows for precise colour placement, as long as changes align with flat layers.
Challenges
Time-Consuming: You must stay near the printer to swap filament, especially for prints with multiple transitions.
Limited to Layers: Colour changes are restricted to flat transitions between layers, making it unsuitable for gradient or complex designs.
Risk of Errors: Improper filament loading or extrusion can result in print failures or layer inconsistencies.
The Ender 3 is a simple “bed slinger” design, where the print bed moves along the Y-axis during printing. This makes it easy to understand and maintain but limits its speed and precision compared to more advanced designs. Manual filament swaps on the Ender 3 are a rewarding challenge, but they’re not ideal for prints requiring frequent or intricate colour changes.
Automatic Colour Swapping on the Anycubic Kobra S1 Combo
Enter the Anycubic Kobra S1 Combo, a machine that takes the hassle out of colour transitions with its automatic colour swapping capabilities. This feature is a game-changer for multi-colour printing, but it’s not without its quirks.
How It Works
Load multiple filaments into the system’s multi-material module.
Use your slicer software to assign colours or materials to specific parts of the model.
The printer automatically purges and swaps filaments as required during the print.
Advantages
Full Automation: No need to monitor the printer for manual swaps.
Flexible Design: Supports intricate, multi-colour models and even gradient effects.
Time-Saving: Once the print starts, you can walk away and let the machine handle transitions.
Advanced Features: Comes with a four-reel filament holder, filament drying capabilities (ACE Pro), and a completely enclosed design with a self-levelling bed for precision and consistency.
Core-X-Y Design: The Kobra S1 uses a core-X-Y motion system, where the print head moves along the X and Y axes, while the bed remains stationary in those directions and only moves along the Z-axis. This design allows for faster and more precise printing.
Speed: Prints significantly quicker than the Ender 3, reducing overall production time.
Challenges
Purge Waste: Automatic colour swaps generate significant purge waste, especially for frequent transitions. This waste can be a mix of materials and colours, making it harder to recycle.
Material Costs: Increased waste also means higher filament consumption, which can add up over time.
Complexity: The Kobra S1 Combo’s advanced features and capabilities make it a more complex machine to operate and maintain, compared to the hands-on simplicity of the Ender 3.
Calibration Required: Achieving perfect transitions may require fine-tuning slicer settings and calibration.
Despite these challenges, the Kobra S1 Combo excels at delivering high-quality multi-colour prints with minimal effort compared to manual methods.
Key Comparisons
Feature
Ender 3 (Manual Swaps)
Anycubic Kobra S1 Combo (Automatic)
Ease of Use
Labour-intensive
Fully automated
Print Complexity
Limited to layer changes
Supports gradients and intricate designs
Material Waste
Minimal
Significant purge waste
Time Investment
High (requires supervision)
Low (set and forget)
Cost Efficiency
More cost-effective
Higher filament consumption
Learning Curve
Simple to learn
Requires slicer and printer calibration
Features
Basic setup
Four-reel holder, filament dryer, enclosed design, self-levelling bed, Core-X-Y system
Speed
Slower print times
Significantly faster
Which System Is Right for You?
The choice between manual and automatic filament swapping depends largely on your needs:
Creality Ender 3
Ender 3: Ideal for budget-conscious users who don’t mind putting in extra effort to achieve basic multi-colour prints. It’s a hands-on machine that’s perfect for learning and tinkering.
Anycubic Kobra S1 Combo
Anycubic Kobra S1 Combo: Perfect for users looking for convenience and the ability to create complex, high-quality multi-colour designs with minimal manual intervention. Its advanced features make it a powerful tool but with added complexity.
For me, moving to the Kobra S1 Combo has been a revelation. The convenience of automatic colour swapping far outweighs the challenges of purge waste and calibration. That said, the Ender 3 taught me valuable skills and patience, which I still draw upon when troubleshooting more advanced systems.
Final Thoughts
Transitioning from manual to automatic colour swapping is like moving from a bicycle to a car—both get you to your destination, but the experience is vastly different. The Ender 3 is a great starting point for learning the fundamentals of 3D printing, while the Anycubic Kobra S1 Combo opens up a world of possibilities for complex, multi-colour creations.
If you’ve been hesitant to make the leap to automatic systems, consider this: while there’s no substitute for learning the basics, automation can free up your time to focus on what really matters—creating amazing prints.
What’s your experience with colour swapping in 3D printing? I’d love to hear your thoughts in the comments below!
If you are thinking of buying a Anycubic printer, use the discount code MATTPORTER when you check out to receive a £20 discount.